

48 Hour Moisture Balance Plan for Greenhouse Humidity Control
48 Hour Moisture Balance Plan for Greenhouse Humidity Control
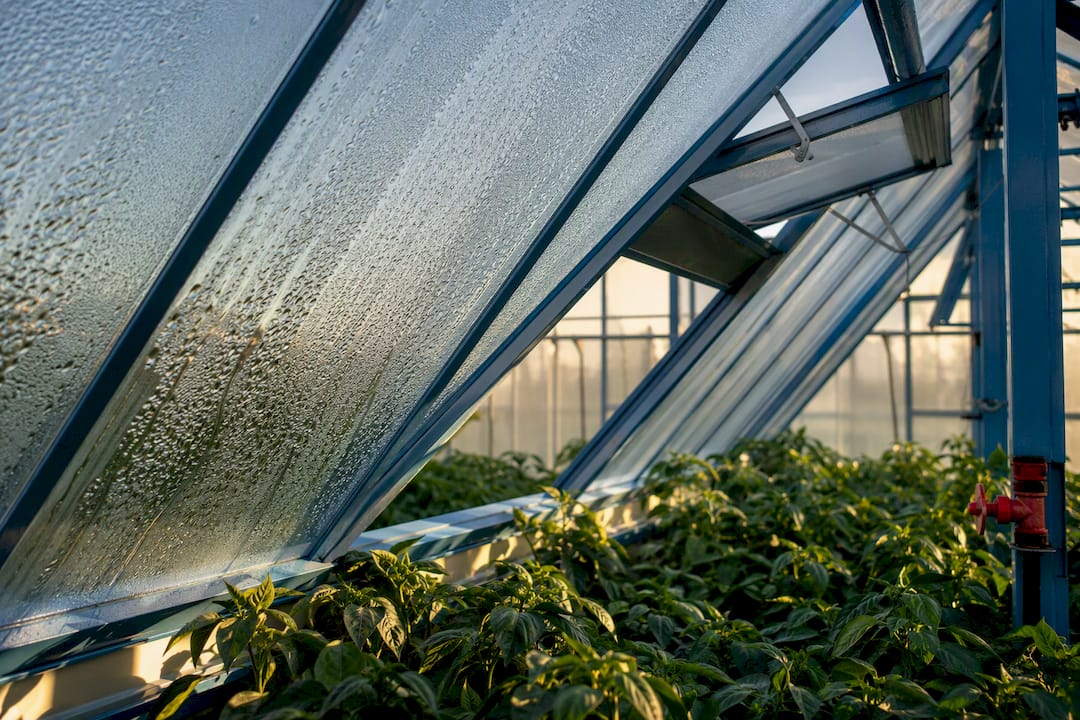
Start by diagnosing the moisture balance in your greenhouse, not by shopping for equipment. Coordinate ventilation, heating, and canopy airflow to move the moisture your crop and irrigation are adding into the outside air. Mechanical dehumidification only earns its place once you’ve defined a remaining moisture duty those three tools genuinely cannot handle. Growers who reach for a dehumidifier first usually end up running expensive equipment against a problem that vent timing and a few circulation fans would have solved.
TL;DR:
- Most humidity spikes can be controlled within two days by adjusting venting, heating, and airflow rather than relying on dehumidifiers.
- Tracking moisture sources, especially during sunset and dawn, reveals that outside temperature drops often cause condensation and humidity peaks.
- Proper circulation fans and glazed surface treatments can improve air movement and prevent persistent canopy wetness that fosters disease.
- Cultural practices like early-day watering, drainage, and crop spacing can significantly reduce the moisture load, postponing or negating the need for mechanical dehumidification.
- Mechanical dehumidifiers should only be considered after diagnosing moisture issues and optimizing ventilation, heating, and cultural controls, with careful attention to air distribution and control strategy.
Table of Contents
- Your 24 to 48 Hour Greenhouse Humidity Control Checklist
- What Is Causing Your Greenhouse’s Excess Moisture?
- How Do Ventilation and Heating Work Together to Lower Humidity?
- Why Do Some Spots in Your Canopy Stay Wet Longer?
- Which Cultural Practices Cut Your Humidity Load for Free?
- When Should You Add Mechanical Dehumidification?
- How Do You Monitor and Automate Humidity Control?
- How Does Humidity Affect Transpiration and Photosynthesis?
- How Does Humidity Interact with CO2 Enrichment?
- What Types of Automated Humidity Control Systems Exist?
- Beyond Thresholds: How Humidity Swings Affect Pests and Disease
- How Do Humidity Needs Change When Propagating Different Species?
- What We’ve Seen Work in Real Off-Grid Greenhouse Installs
- Matching Solar Ventilation Hardware to Your Humidity Control Plan
- Sources
Your 24 to 48 Hour Greenhouse Humidity Control Checklist
Before you touch a budget line for new hardware, work through this sequence. Most acute humidity spikes, the kind that show fogged glazing at dawn and wilted lower leaves by noon, respond to these fixes within two days.
- Coordinate vents and heat so they never fight each other. Crack vents before firing heat, not after.
- Move irrigation earlier in the day so leaves and floor surfaces dry out well before sunset.
- Turn on horizontal airflow (HAF) fans and keep them running continuously, not just when RH spikes.
- Walk the floor and benches and remove any standing water, especially under benches and near drains.
- Inspect glazing seams and gutters for pooling condensation or drip points onto the canopy.
What Is Causing Your Greenhouse’s Excess Moisture?
Every greenhouse runs a moisture balance: water vapor comes in from irrigation, transpiration, and outside air, and it has to leave through ventilation, condensation, or mechanical removal. Condensation on cold glazing isn’t a removal credit. It’s water waiting to drip back onto the crop the moment temperatures shift, so don’t count it as humidity you’ve dealt with.
Most humidity events cluster around predictable windows. Sunset is the worst offender, when outside temperatures drop faster than the greenhouse can vent, and RH climbs while growers are asleep. Dawn runs a close second, especially after a heavy pre-dusk watering.
Track these on a simple log:
- Time-stamped RH and temperature readings, indoor and outdoor
- Vent position and heater state at each reading
- Irrigation events, including volume and time of day
- Locations where condensation or drip actually appeared
Comparing dew point to the surface temperature of glazing, trusses, and leaves tells you where condensation risk actually lives, since any surface colder than the dew point will collect moisture regardless of what your room-average sensor reads.
Pro Tip: Log your worst night for a full week before making any equipment decisions. One bad night tells you almost nothing; a week of logged transitions tells you exactly when and where your moisture balance breaks down.
How Do Ventilation and Heating Work Together to Lower Humidity?
Warm air holds dramatically more water vapor than cold air. For every 20°F rise in air temperature, the air’s water-holding capacity roughly doubles, which is why heating and ventilation are almost always used together rather than as substitutes for each other. Heat alone just raises the air’s capacity to hold moisture without removing any; venting alone lets in outside air that may already be saturated.
Daytime and nighttime call for different strategies:
- Daytime: lean on natural ventilation. Roof vents and side curtains exchange humid inside air for typically drier outside air, especially once solar gain has warmed the structure.
- Nighttime: heat first, then vent in short pulses. Raising air temperature a few degrees before cracking vents keeps the exchanged air from immediately re-saturating.
- Winter: target roughly 2 to 3 air changes per hour to balance moisture removal against heating cost.
- Summer: ventilation rates can run much higher since outside air is usually warm enough to absorb moisture without added heat.
The vent-cracking technique, brief partial openings on a timer rather than one long opening, avoids cold shock to the crop while still exchanging air. If outside air is already near saturation during a fog or rain event, venting won’t help at all. That’s when you shift to bottom heat and targeted circulation instead of fighting the outside atmosphere.
**Maintaining relative humidity between roughly 65 to 75% at night and 80 to 90% during the day helps keep most fungal pathogens from establishing.
Why Do Some Spots in Your Canopy Stay Wet Longer?
Room-average sensors lie about what’s happening inside dense foliage. Air trapped in a thick canopy can run 20 to 40% higher in relative humidity than what your wall-mounted sensor reports, and that’s exactly where botrytis and powdery mildew get their foothold.
HAF fans fix this by keeping air moving continuously through the plant mass rather than just around the room:
- Space fans to create a horizontal loop, corner to corner, without dead zones behind tall crops or dense benching.
- Mount fans at canopy height, not overhead, so the airflow actually penetrates foliage instead of skimming above it.
- Run fans continuously, day and night. Cycling them on and off lets stratified humid air resettle into the canopy.
Glazing condensation is a separate fight. Anti-drip additives or wetting agents cause condensed water to sheet down the glazing surface and into gutters instead of forming droplets that fall onto leaves below. Bottom or between-row heating helps too, by keeping leaf surface temperature above the dew point so moisture never condenses on the plant in the first place.
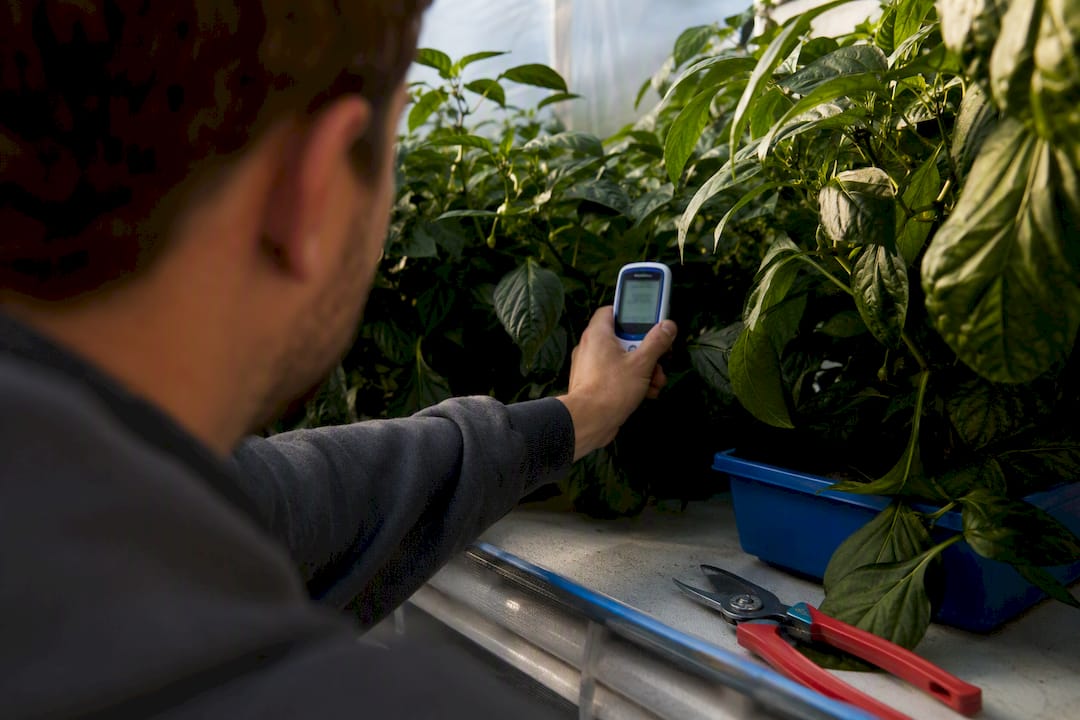
Pro Tip: Check your worst canopy dead zone with a handheld hygrometer during the exact hour your log shows humidity peaking. If it’s running well above your room sensor, that’s your HAF placement answer right there.
Which Cultural Practices Cut Your Humidity Load for Free?
The cheapest dehumidification tool you own is a watering schedule. Cultural controls like watering earlier in the day, improving drainage, and adjusting plant spacing reduce the moisture load before it ever becomes an equipment problem, and they cost nothing beyond a schedule change.
- Water in the morning using drip or subirrigation so foliage and floors dry well before evening humidity rise begins.
- Never run overhead watering late in the day. Wet leaves overnight are a disease invitation.
- Keep floors well drained and eliminate puddles under benches, since standing water evaporates continuously and feeds the exact humidity spike you’re trying to avoid.
- Choose benching that allows airflow underneath rather than solid platforms that trap humid, stagnant air.
- Prune and space crops to shorten how long leaves stay wet after irrigation or dew formation.
Most growers who tighten these habits find their remaining moisture duty, the amount mechanical equipment would otherwise need to remove, shrinks enough that a dehumidifier purchase becomes optional rather than urgent.
When Should You Add Mechanical Dehumidification?
Mechanical dehumidification is a defined-duty tool, not a first response. It belongs in your plan only after you’ve diagnosed moisture sources and worked through ventilation, heating, and cultural fixes. The decision framework used by climate engineers treats ventilation, heating, air movement, and mechanical removal as tools with distinct roles, assigned only after that moisture-balance assessment is complete.
Three main options exist, each with real trade-offs:
- Refrigeration/heat-pump dehumidifiers: pull moisture by condensing it on a cold coil; efficient in moderate climates but lose capacity as temperatures drop.
- Desiccant systems: use hygroscopic materials to adsorb moisture, effective in cold conditions where refrigeration units struggle, but require regeneration cycles that consume energy.
- Condensation with heat recovery: captures the latent heat released during condensation and returns it to the greenhouse, improving overall energy efficiency.
Distribution matters as much as sizing. Even a well-sized dehumidifier fails if air distribution is poor, so pair any unit with existing HAF circulation rather than expecting it to work in isolation. Factor defrost or regeneration cycles into your maintenance schedule, since those cycles briefly pause moisture removal and can matter during your riskiest overnight windows.
How Do You Monitor and Automate Humidity Control?
Raw relative humidity tells you less than dew point and vapor pressure deficit (VPD). Dew point tells you the exact temperature at which condensation will form on a surface, which is the number that actually predicts disease risk on leaves and glazing. VPD measures the drying pull the air exerts on your crop, and it correlates more directly with transpiration rate and plant stress than RH alone does.
- Place sensors inside the canopy, not just on a greenhouse wall, since that’s where the disease-relevant humidity actually sits.
- Log transitions around sunset, dawn, and irrigation events specifically. These windows account for most of your risk.
- A monitoring approach comparing dew point to leaf temperature can forecast dew formation before it happens and trigger vents or circulation automatically.
- Use your logged patterns to set vent and heat cycle timing rather than reacting to alarms after RH has already climbed.
For growers running tighter tolerances, multivariable split-range control can substantially cut control error compared to a simple proportional-integral controller, largely by decoupling temperature and humidity loops so one doesn’t fight the other.
How Does Humidity Affect Transpiration and Photosynthesis?
Humidity doesn’t just create disease risk. It directly governs how hard your plants work to move water and carbon dioxide. Transpiration, the process by which plants pull water from roots to leaves and release vapor through stomata, slows dramatically when greenhouse air is already saturated with moisture. The plant simply has nowhere to push water vapor when the surrounding air can’t accept more.
That slowdown has real consequences. Reduced transpiration means reduced nutrient uptake, since minerals travel with water from the root zone. It also means leaves run warmer, because evaporative cooling through stomata is one of a plant’s main temperature-regulation tools. High humidity paired with high light intensity is a particularly bad combination: the plant needs to transpire to stay cool, but the air won’t let it.
Photosynthesis suffers indirectly through stomatal behavior. When humidity climbs too high for too long, plants often respond by closing stomata partway to protect against excess water loss during the next dry spell, which simultaneously restricts carbon dioxide intake. Growth slows even though nothing looks obviously wrong yet.
At the other extreme, humidity that’s too low forces stomata to close defensively to prevent water loss, which cuts carbon dioxide uptake just as effectively. This is why the target ranges matter more than chasing the lowest possible humidity.
How Does Humidity Interact with CO2 Enrichment?
Growers running CO2 enrichment to boost photosynthesis often overlook that humidity management changes the economics of that investment. Enriched CO2 only pays off if stomata stay open long enough to take it in, and stomata respond to humidity as much as they respond to carbon dioxide concentration.
If humidity runs too high, stomata partially close to limit water loss, and that closure blocks the enriched CO2 from ever reaching the mesophyll cells where photosynthesis happens. You end up paying for CO2 that never gets used. Conversely, running humidity too low to “protect” against disease can trigger the same defensive stomatal closure through a different mechanism, wasting the enrichment investment from the opposite direction.
The practical fix is sequencing. Vent and circulate to bring humidity into a stable target range before ramping CO2 injection, rather than running both systems independently. Greenhouses that inject CO2 during vent cycles often lose most of the enriched gas straight out the roof vents, so CO2 enrichment generally works best when ventilation is minimized and humidity is instead managed through heating and internal circulation.
Timing also matters across the day. CO2 enrichment delivers the most benefit during peak light hours, which is also when transpiration demand is highest and humidity tends to run lowest naturally. That overlap is convenient. It means the hours when enrichment matters most are often the hours when your humidity control system has the easiest job, since daytime ventilation and solar warming are already pulling moisture down.
What Types of Automated Humidity Control Systems Exist?
Automated systems for greenhouse climate management fall into three general tiers, and the right one depends on how much precision your crop actually needs.
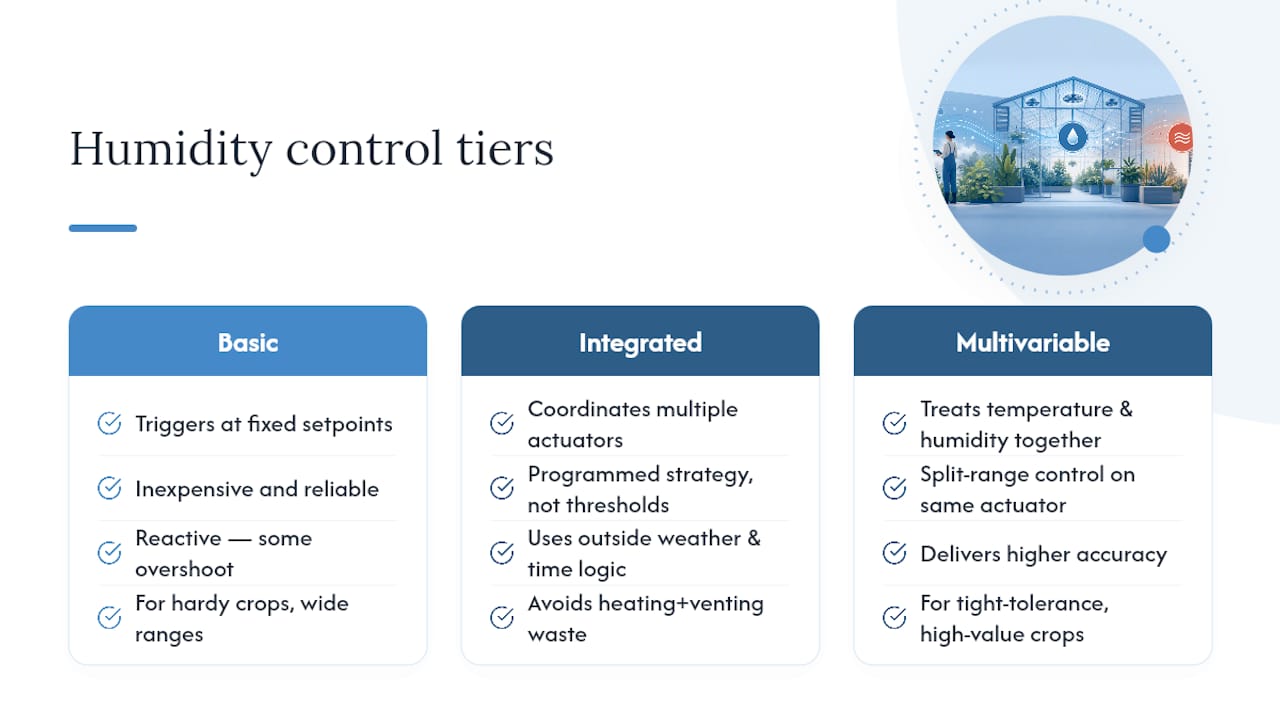
Basic thermostat and humidistat controllers trigger vents, fans, or heaters at fixed setpoints. They’re inexpensive and reliable but react only after conditions cross a threshold, which means some overshoot is unavoidable. This tier suits growers with hardy crops and wide acceptable humidity ranges.
Integrated climate computers coordinate multiple actuators, vents, heating, HAF fans, and sometimes shade curtains, against a single programmed strategy rather than independent thresholds. These systems can factor in outside weather data and time-of-day logic, which helps avoid the classic mistake of heating and venting simultaneously in a way that wastes energy.
The most capable tier uses multivariable control strategies that treat temperature and humidity as coupled variables rather than separate problems, adjusting both together rather than letting one system’s correction create a problem for the other. This is where split-range control lives, splitting the same actuator’s range across dehumidification and heating duties, and it delivers a real accuracy advantage for growers running tight tolerances on high-value crops.
Programming any of these tiers well starts with the logging habit described earlier. A climate computer given a week of real sunset and dawn transition data will build far tighter control schedules than one running factory defaults. Optimization is really just feeding your system better information about your specific structure, crop, and climate, not a one-time setup task.
Beyond Thresholds: How Humidity Swings Affect Pests and Disease
Static humidity thresholds tell only part of the disease story. The rate and timing of humidity change matters as much as the absolute number, and that’s a distinction most growers miss until they’ve lost a crop to it.
Rapid swings drive condensation even when the average RH looks acceptable, because temperature and moisture can’t equilibrate fast enough across surfaces. Fungal spores that need free water to germinate get exactly the brief wet window they need during these transitions.
Pest pressure follows a related but distinct pattern. Fungus gnats and shore flies thrive in the chronically damp substrate that comes with poor drainage and overwatering, while spider mites tend to explode during extended low-humidity stretches that stress plants and reduce their natural defenses. Managing humidity for disease control and managing it for mite prevention can pull in opposite directions, which is exactly why the moisture-balance approach, treating the whole system rather than chasing one number, matters more than optimizing for a single pest or pathogen.
The practical takeaway is that your logging and control strategy needs to catch rate-of-change events, not just threshold breaches.
How Do Humidity Needs Change When Propagating Different Species?
Propagation flips the usual humidity playbook upside down. That’s the exact RH range that triggers disease pressure in a mature crop section just a few feet away.
This is why serious propagation operations physically separate propagation zones from finished-crop growing space, using humidity domes, fog systems, or dedicated mist benches rather than trying to run one greenhouse-wide humidity target for both jobs. A tomato cutting under a humidity dome and a flowering ornamental crop ten feet away have almost opposite moisture needs.
Species differences matter within propagation too. Succulent and cactus cuttings root better with lower humidity and callusing time before any moisture contact, while ferns and many tropical ornamentals need sustained near-saturation humidity for weeks. Woody ornamental cuttings typically fall in between, needing high humidity initially that’s gradually reduced as roots establish, a process called hardening off.
The transition out of propagation humidity is often where growers lose plants. A gradual step-down, venting the dome for longer periods over several days, gives the plant time to build the drought tolerance it needs before full exposure.
What We’ve Seen Work in Real Off-Grid Greenhouse Installs
Solar-powered ventilation gets asked to do a specific job in most of the installs we’ve supported: keep air moving through the canopy in structures where running grid power to a hoop house or remote greenhouse isn’t practical or affordable. That constraint shapes everything about how humidity control has to work in these settings.
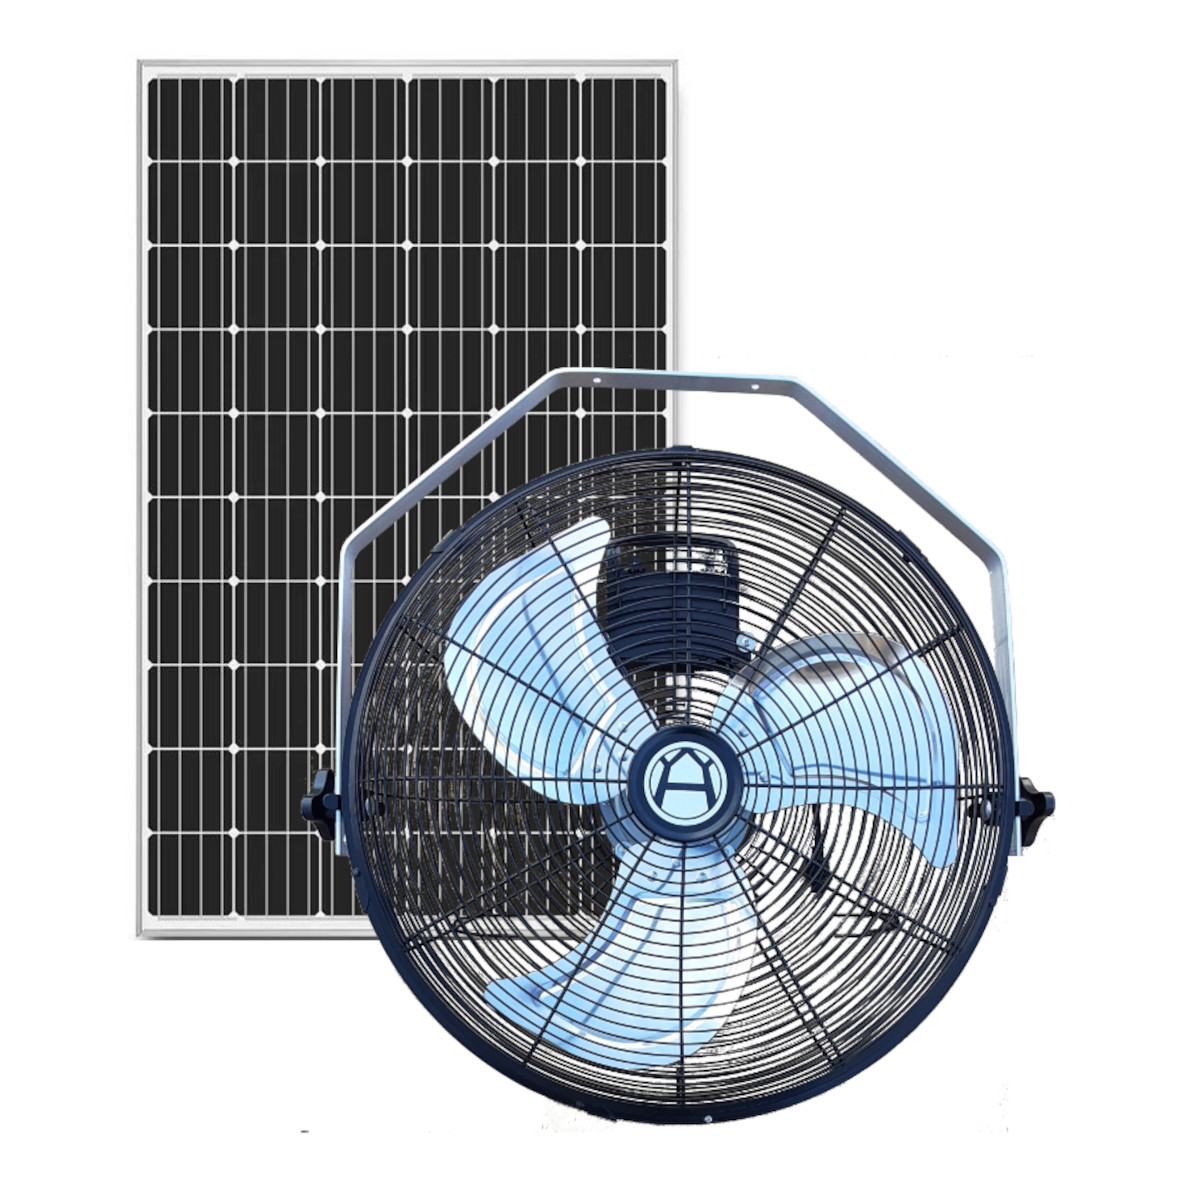
The pattern we see most often is straightforward. Remote hoop houses need continuous low-power circulation more than they need brute-force ventilation capacity, since most of these structures rely on passive venting for bulk air exchange and use fans specifically to eliminate canopy dead zones. Night-backup matters more than growers expect going in, since humidity risk peaks after sunset exactly when solar output has stopped, which makes battery backup a real design requirement rather than an upgrade.
— Chris
Matching Solar Ventilation Hardware to Your Humidity Control Plan
Westernharmonics builds the hardware for the exact gap most humidity control plans hit: reliable air movement where grid power isn’t there to run it. If your moisture-balance diagnosis points to a continuous HAF duty inside a remote or off-grid structure, that’s a job solar ventilation is built for, and it’s one traditional wired fan setups can’t touch without an expensive electrical run.

Match the product to the duty you’ve actually diagnosed. The 10W solar fan kit handles continuous canopy HAF in a small greenhouse or hoop house without drawing on grid power at all. Larger structures or modular layouts do better with the two-fan system, which lets you split airflow across separate zones. For forced exhaust paired with overnight coverage, the 200W solar hanging fan kit with battery backup keeps circulation running through the exact sunset-to-dawn window when humidity risk peaks and solar input has stopped. If you’re managing a hot, dry stretch on top of your humidity plan, the solar evaporative cooler adds temporary assist without a grid connection either.
For placement, mount fans at canopy height rather than overhead, and pair any battery-backed unit with your heating schedule so night transitions don’t create a circulation gap. Growers building a full off-grid climate setup can browse the complete greenhouse systems catalog to see how these pieces combine, and pairing energy-efficient component choices matters here the way it does in any off-grid power system. Check the 10W solar fan kit page now to see if it fits the airflow duty your logging has already identified.
Sources
- Reduce Greenhouse Humidity | Integrated Pest Management | University of Connecticut
- Reducing humidity in the greenhouse | UMass Amherst CAFE
- A practical solution for multivariable control of temperature and humidity in greenhouses
- Automatic monitoring system to prevent dew condensation in a greenhouse (Sensors)
- Comprehensive review on dehumidification strategies for agricultural greenhouse applications