

Size Your Generator Shed Ventilation to 6 ACH With Solar Fans
Size Your Generator Shed Ventilation to 6 ACH With Solar Fans
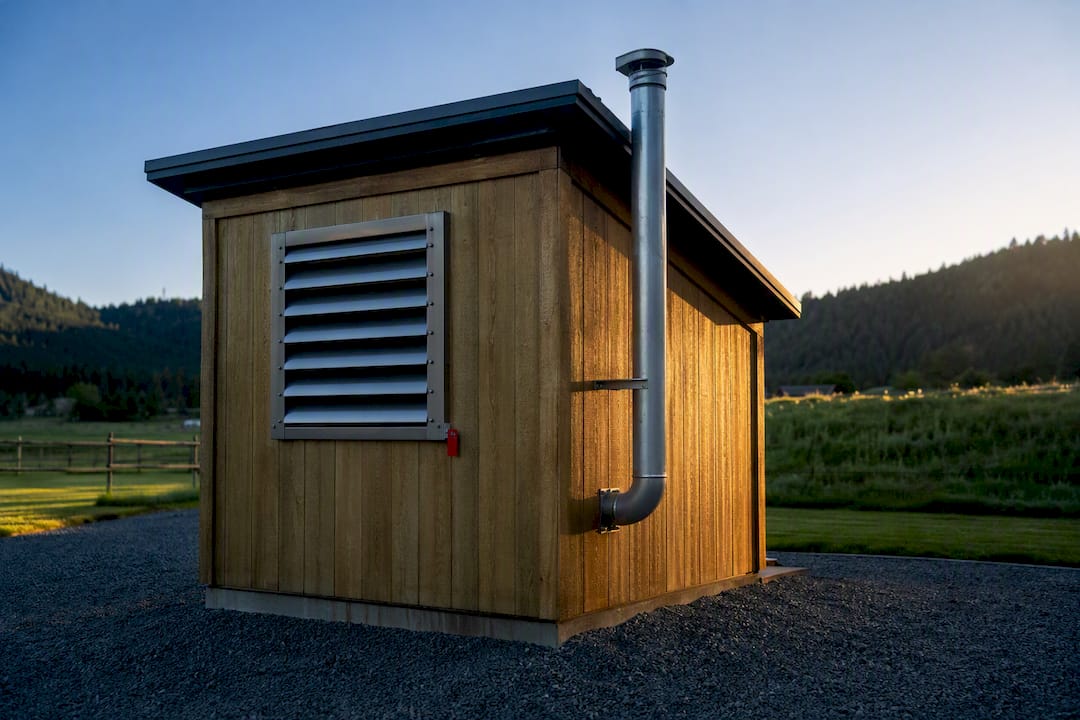
You can run a portable generator in a shed, but only if the exhaust is piped fully outside and the enclosure has a designed air path sized to that specific unit. Skip either piece and you are building a carbon monoxide trap, not a generator shed. The rest of this guide covers exhaust routing, CFM sizing, vent placement, and the solar-powered options that keep airflow reliable even when the generator itself is offline.
TL;DR:
- Proper exhaust routing with fully outside piping and appropriately sized air paths prevents carbon monoxide buildup in generator sheds.
- Vent placement should be low for intake and high for exhaust, with minimal elbows, to maintain airflow and reduce backpressure.
- Calculating ventilation needs for a typical shed involves 4 to 8 air changes per hour, with 6 ACH being a common target, and vent size should exceed the minimum.
- Insulation should be carefully integrated with ventilation, ensuring all openings remain clear and vibration isolation is used to prevent pipe fatigue.
- Solar-powered fans provide reliable, independent airflow, with size recommendations of 20 to 25 percent above calculated minimum CFM to account for real-world resistance.
Table of Contents
- What makes generator shed ventilation different from storage shed airflow?
- How do you route generator exhaust safely through a wall?
- How much CFM does a generator shed actually need?
- Where should intake and exhaust vents go?
- Can you insulate a generator shed without blocking airflow?
- Why solar-powered ventilation fits generator sheds so well
- What’s the installation checklist and what mistakes should you avoid?
- Why we favor designed air paths over improvised setups
- Which Western Harmonics kit fits your generator shed?
- Sources
What makes generator shed ventilation different from storage shed airflow?
A storage shed just needs to shed moisture. A generator shed has to manage a running combustion engine, and that changes the entire design brief. Carbon monoxide is colorless and odorless, and it accumulates fast in a sealed structure. The exhaust has to be vented outside the enclosure, away from windows, doors, and any air intake, full stop.
Beyond exhaust, a running generator needs two separate air jobs done well: combustion air to feed the engine and airflow across the block to carry away heat. Starve either one and you get real consequences. Combustion air shortage causes incomplete burning, which raises CO output right when you least want it. Cooling air shortage causes the engine to run hot, which shortens engine life and can trip automatic shutdown at the worst possible moment, like the middle of a blackout.
NFPA 37 guidance sets expectations around clearances and fire-safe penetrations for engine exhaust systems. Manufacturer literature reinforces the same point from a different angle: Generac’s support team is direct about the danger of exhaust leaking into enclosed spaces when venting is done wrong. Treat your shed as a small machine room, not a storage box, and check your specific unit’s manual before you finalize anything:
- Route exhaust through a dedicated, sealed penetration, never left to vent inside the enclosure.
- Provide separate low intake and high exhaust airflow paths for combustion and cooling air.
- Install a carbon monoxide alarm inside the shed and check it regularly.
How do you route generator exhaust safely through a wall?
Run the exhaust pipe on the shortest, straightest path from the muffler to the outside wall. Every elbow you add increases resistance, and resistance is exactly what pushes backpressure past what the engine was designed to handle.
Terminate the exhaust well away from doors, windows, gable vents, and anywhere people walk or stand while the unit runs. Wind can push exhaust back toward the building faster than most owners expect, so give it distance and, where possible, point it away from prevailing wind.
- Cut the wall penetration using a fire-rated thimble or an insulated, sealed sleeve, following NFPA 37 clearance-to-combustibles guidance.
- Support the pipe so its weight doesn’t stress the muffler or engine coupling.
- Keep total pipe length and elbow count to the minimum your layout allows.
- Check the manufacturer’s maximum backpressure spec before adding any muffler, silencer, or extended run.
- Start the unit, inspect every joint for exhaust leaks, and listen for changes in engine note that suggest restricted flow.
Pro Tip: Run the generator under real load for 15 to 20 minutes after installation and check engine temperature and CO alarm status before you call the job done. A quiet startup can still hide a partial restriction that only shows up once the engine is working hard.
How much CFM does a generator shed actually need?
Airflow sizing comes down to one formula: CFM = (Volume × ACH) / 60, where ACH is air changes per hour. Generator sheds under active load generally want somewhere in the 4 to 8 ACH range, with 6 ACH a reasonable working target for most portable units, according to shed ventilation sizing guides.
Take a common 6×8×6 foot shed. That’s 288 cubic feet. At 6 ACH: (288 × 6) / 60 = 28.8 CFM as a bare minimum. In practice, small storage-style sheds under active generator use often require ventilation airflow significantly above the basic formula minimum to overcome real airflow resistance, as shown in DIY Eco Homes ventilation data.
That gap between the raw formula and the practical number comes down to Net Free Area, the actual open area a vent provides after subtracting the material blocking it, like louvers and mesh. Fan CFM ratings assume open air, so always size your fan or vent opening above the calculated minimum.
Where should intake and exhaust vents go?
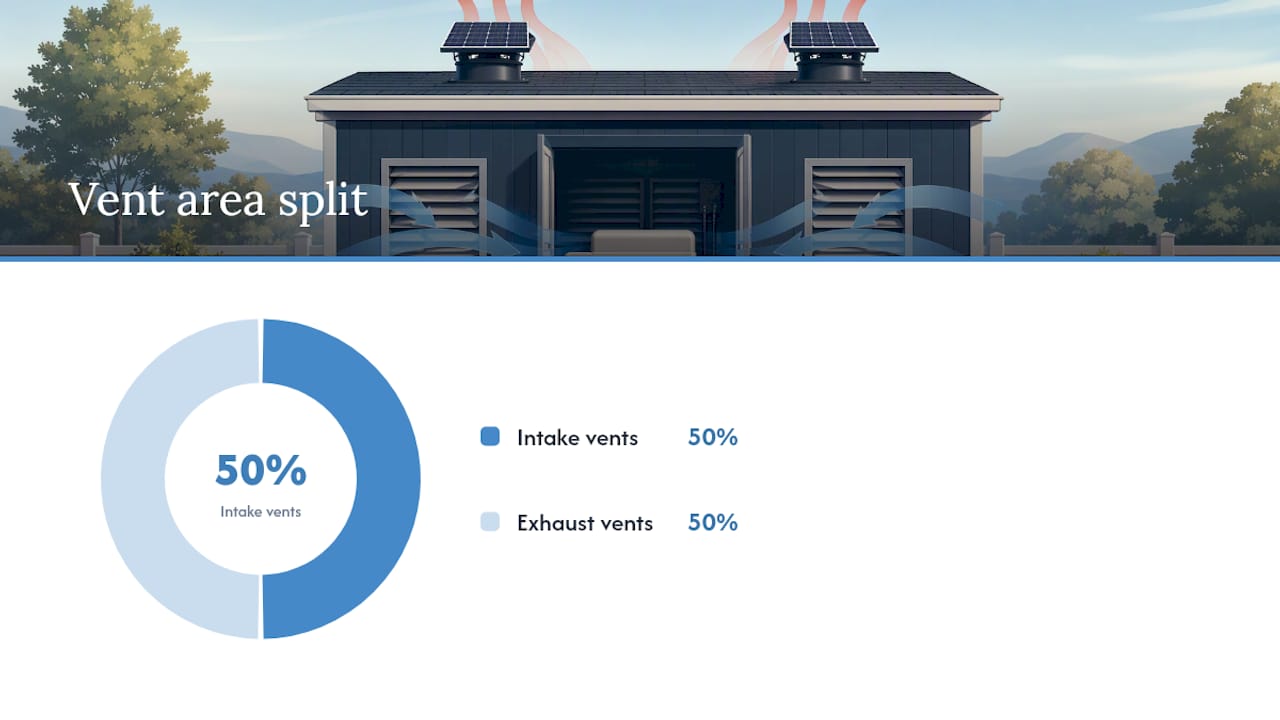
Cold, denser air enters low. Hot, exhaust-laden air rises and leaves high. That’s the entire logic behind low intake, high exhaust placement, and it’s the same principle behind the 1:150 net free area rule many shed-ventilation guides reference for sizing total vent opening against floor area.
Split your vent area roughly 50/50 between intake and exhaust sides so one doesn’t choke the other. For sheds with mild heat load, a soffit vent paired with a ridge or gable vent handles passive airflow without any moving parts. Once ambient temperatures climb or the generator runs long stretches under heavy load, add a powered fan, thermostatically controlled or solar-driven, to guarantee airflow instead of hoping for a breeze.
- Use weatherproof louvers with insect screening on every exterior vent.
- Keep screen mesh coarse enough to preserve net free area; fine mesh clogs fast and quietly strangles your airflow.
- Add removable winter covers only on secondary vents, never on the primary exhaust or CO-critical intake path.
Can you insulate a generator shed without blocking airflow?
Insulation and ventilation aren’t enemies, but they do compete for the same wall space, and getting the order wrong creates a heat trap that cooks electronics and shortens component life. The fix is building both into the same plan instead of bolting ventilation on after the walls are closed up.
For sound control, mass-loaded vinyl, decoupling mats, and dense insulation board cut noise significantly, but every vent opening in your CFM calculation has to stay open through the build. Mount the generator on vibration-isolating pads and use a flexible connector at the exhaust penetration so engine vibration doesn’t fatigue the pipe or crack the seal over time.
- Keep all designed intake and exhaust openings clear when installing soundproofing.
- Use flexible couplings at the exhaust penetration to isolate vibration from the wall.
- If you add an exhaust silencer, confirm it stays within the manufacturer’s backpressure limit first.
Why solar-powered ventilation fits generator sheds so well
A generator’s whole job is producing power for the house, not running its own cooling fans. Pulling wattage off the unit to power shed ventilation is backwards. Solar-powered DC fans solve that by running independently, drawing from the sun and a small battery buffer instead of the generator’s output.
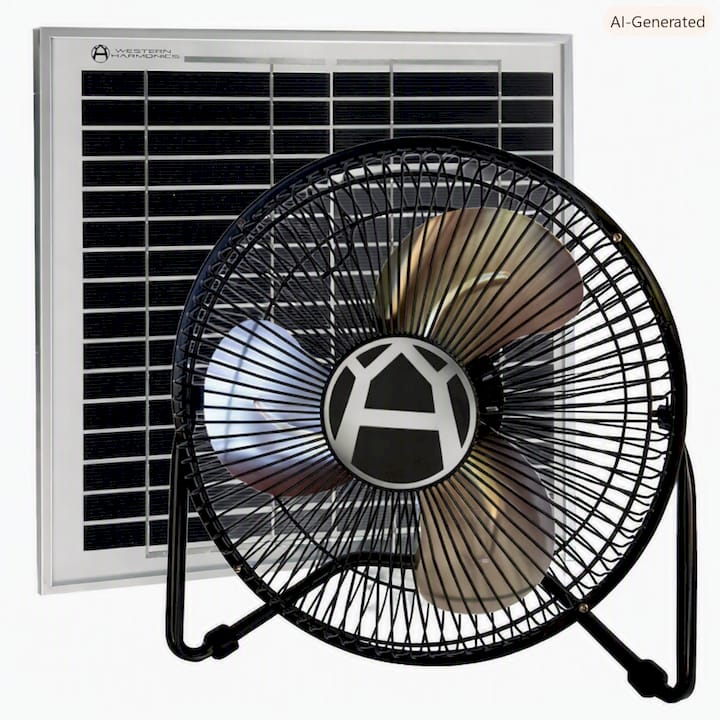
Some companies built the first solar fan kit category in the U.S., and that history shows in how these kits get sized: match the fan’s rated CFM to your calculated need, then add margin for grille resistance the same way you would with any powered vent. A small battery buffer keeps airflow running through overnight generator use or extended cloudy stretches, which matters most exactly when your generator is working hardest.
- Solar fans run whether or not the generator is producing power.
- No wiring back to generator output means one less point of failure.
- Battery buffering covers nighttime and low-sun operation.
Pro Tip: Size the solar fan’s rated CFM at least 20 to 25 percent above your calculated minimum. Grille screens and wind resistance eat into real-world output more than spec sheets suggest. Western Harmonics has published detailed shed solar ventilation guidance covering sizing and mounting for exactly this use case, and a breakdown of why DC fans outperform AC options off-grid is worth a read before you buy.
What’s the installation checklist and what mistakes should you avoid?
Work through sizing before you cut a single vent hole. Measure shed volume, calculate CFM using 6 ACH as a starting point, then confirm your generator’s continuous load and manufacturer backpressure limit before choosing pipe diameter and elbow count.
- Measure shed dimensions and calculate target CFM.
- Choose exhaust route with minimum elbows and confirm backpressure stays within spec.
- Install fire-rated wall penetration per NFPA 37 clearances.
- Size and place low intake and high exhaust vents, splitting NFA roughly 50/50.
- Add solar or thermostatic fan if passive airflow won’t cover peak load.
- Install a CO alarm inside the shed.
- Run the generator under load, check temperatures, inspect for leaks, and confirm the alarm stays silent.
The most common DIY mistakes: an undersized intake vent that starves the exhaust fan, too many elbows in the exhaust run driving backpressure past spec, sealing up vents while installing insulation, and skipping the CO alarm because “the exhaust is vented anyway.” Any one of those turns a working design into a hazard.
Why we favor designed air paths over improvised setups
Most generator shed failures aren’t dramatic. They’re a vent that got sealed during an insulation job, or an exhaust run with one elbow too many. A designed air path, sized with real math instead of guesswork, catches those problems before they become dangerous. Solar-powered ventilation adds reliability precisely because it never depends on the generator itself staying healthy. If you want tested sizing guidance, our installation resources and product catalog cover the specifics.
— Chris
Which Western Harmonics kit fits your generator shed?
Most builders wrestle with the same question once the math is done: buy a generic fan and hope, or size a system to the actual CFM number. Some companies have built the solar fan category specifically for jobs like this, so the kits map directly onto the sizing work covered above instead of forcing you to guess.

For a small shed landing in the 50 to 100 CFM range, the Kit# 1505-HG 10w Solar Powered Fan Kit delivers DC-powered airflow without touching your generator’s output. Larger sheds or higher continuous loads often call for more capacity, and the Solar Power 2 Fan System doubles up airflow for exactly that case, while the 200W Solar Hanging Fan Kit with battery backup adds buffered power for overnight or low-sun operation. Match your calculated CFM to the kit’s rated output plus margin, browse the full solar-powered fan lineup, or check the complete catalog if your setup needs more than a fan kit alone.
Sources
- Can I vent the exhaust from my portable generator out of an enclosed area? (Generac Help Center)
- Shed Ventilation: Preventing Moisture and Heat (DIY Eco Homes)