

Tractor Shed Ventilation: A Practical Sizing Guide
Tractor Shed Ventilation: A Practical Sizing Guide
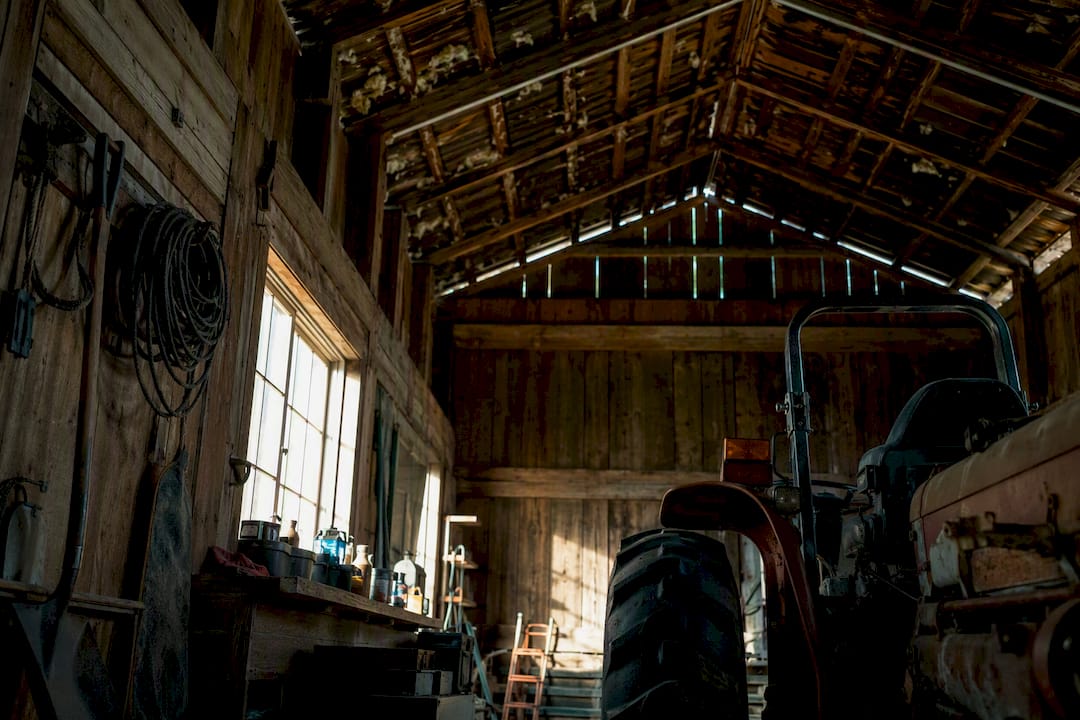
For most tractor sheds, the minimum effective setup is balanced low intake (soffit or wall vents) paired with high exhaust (a continuous ridge or gable vent), sized for 3 to 6 air changes per hour. Size the opening area by calculating airflow needs and following the Net Free Area guideline described below. Add a thermostatic or solar-powered fan once you use the shed as a workshop, store batteries, or fight condensation more than a few times a season.
TL;DR:
- Proper shed ventilation requires balancing low intake vents with high exhaust vents to achieve 3 to 8 air changes per hour, depending on usage.
- Ridge and soffit vents work best when paired with adequate intake, while gable, wall, turbine, or louvered vents offer flexible options for different shed shapes.
- Passive ventilation often suffices for dry storage, but active fans controlled by thermostats or humidistats become necessary in workshops or when fighting persistent condensation.
- Correct sizing involves calculating volume-based CFM needs and matching with vent Net Free Area while oversizing fans to account for real-world resistance.
- Regular biannual maintenance, proper placement, material matching, and monitoring humidity and temperature ensure long-term ventilation effectiveness.
Table of Contents
- Why Ventilation Matters for Tractor and Metal Storage Sheds
- Vent Types and How They Work
- Passive Vs. Active Ventilation: When to Add Fans
- How to Calculate ACH, CFM, and Net Free Area
- Best Practices for Metal and Tractor Sheds
- Installation Checklist and Retrofit Steps
- Maintenance Schedule and Warning Signs
- Solar-Powered Ventilation for Off-Grid Sheds
- Why Balance Beats Guesswork Every Time
- How to Choose a Solar Ventilation Kit That Fits Your Shed
- Sources
Why Ventilation Matters for Tractor and Metal Storage Sheds
Metal sheds swing in temperature fast. A steel roof can hit 140°F under afternoon sun and drop 60 degrees by early morning, and that daily cycle drives condensation onto every cold surface inside, including your tractor’s hood, hydraulic lines, and any tool left on a steel shelf. Warm, moist air holds water vapor until it meets a cooler surface, then it lets go of that water right onto bare metal. Do that every night for a season and you get surface rust, pitted chrome, and a musty smell that never quite clears.
Heat does its own damage even without moisture. Rubber hoses, tire sidewalls, seat vinyl, and wiring insulation all age faster in sustained heat, and enclosed metal buildings trap that heat far longer than an open-sided pole barn. Owners who store tractors in unventilated metal shops report exactly this pattern on farm forums: condensation dripping from the ceiling, mildew on canvas covers, and rust starting on tools within a single humid season, according to firsthand accounts on Green Tractor Talk.
Cracking a door on nice days feels like it should help, but it does not solve the underlying problem. Airflow from an open door depends on wind direction, how long you remember to leave it open, and whether anyone is even around to do it. A dedicated intake and exhaust pair works around the clock without you thinking about it.
What continuous ventilation actually protects against:
- Rust and corrosion on tractor frames, implements, and hand tools from repeated condensation cycles
- Wood decay in roof trusses, door frames, and any wood-framed sections of a metal building
- Heat-driven material breakdown in tires, hoses, belts, and wiring insulation
- Mold and mildew on tarps, upholstery, and stored feed or seed bags
- Trapped fumes from fuel, oil, or paint that linger without a steady air exchange
A shed running 3 to 8 air changes per hour, the range industry guidance for storage buildings recommends, clears that moisture load before it condenses rather than after.
Vent Types and How They Work
Every ventilation system in a tractor shed comes down to two jobs: getting fresh air in low, and letting warm, moist air out high. The vent types below each fill one role or the other, and the best systems combine two or three of them rather than leaning on just one.
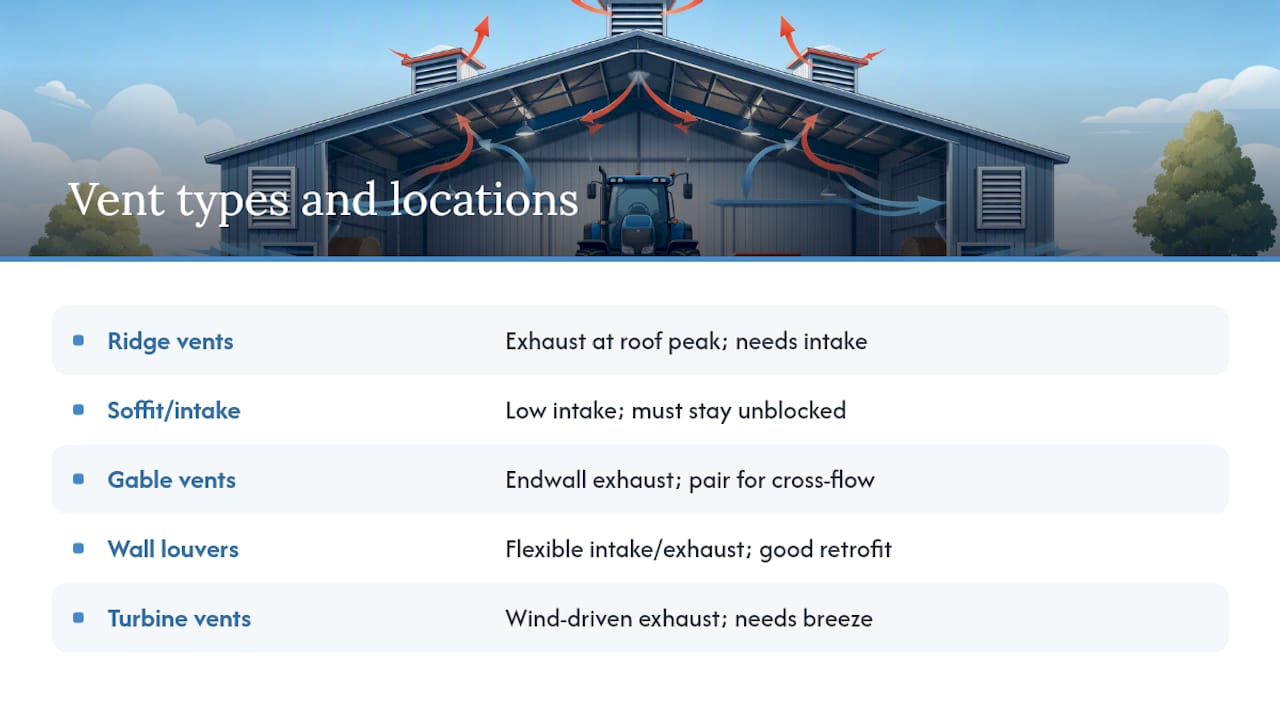
Ridge vents run the full length of the roof peak and provide continuous exhaust as hot air rises and escapes at the highest point in the building. They work best on pitched metal roofs and give you the steadiest airflow of any exhaust option, but a ridge vent installed without matching intake area barely moves air at all. Contractors installing pole barn ventilation stress this point specifically: the ridge vent needs a partner, not a solo run, since inadequate intake starves the exhaust side no matter how well the ridge itself is built.
Soffit and intake vents sit low, along the eaves or the lower wall, and pull in cooler outside air to replace what escapes through the ridge. This low-to-high path is what drives the stack effect, the natural rise of warm air that powers passive ventilation without any moving parts. Keep soffit vents clear of insulation, stacked hay, or parked equipment, since blocking even one side of the shed cuts your effective intake area in half.
Gable vents sit in the triangular wall section at each end of the roofline and work well on shorter roof runs or buildings where a full ridge vent is not practical. Two gable vents facing each other create a cross-flow path across the attic space or open truss area, which helps in sheds with a simpler roof shape.
Wall and louvered vents give you the most flexibility. You can place them exactly where you need intake or exhaust, screen them against insects and rodents, and size them independently of roof geometry. They are the go-to option for retrofitting an existing shed where cutting into the roofline is not worth the hassle.
Turbine and wind-driven vents spin with the wind to pull additional exhaust volume, and they can meaningfully boost airflow in a consistently breezy location. They have moving parts, though, which means bearings to grease and blades to check, and they do close to nothing on a dead calm day.
Pro Tip: If you are retrofitting a metal roof, ask for contractor-grade ridge vent product specs rather than an improvised ridge cap with holes punched in. A proper vent profile sheds water correctly; a homemade version is one of the more common causes of roof leaks reported after DIY ventilation upgrades.
Passive Vs. Active Ventilation: When to Add Fans
Passive ventilation, a properly sized ridge or gable vent paired with soffit intake, handles dry equipment storage in most climates without any moving parts or power draw. It works around the clock, needs no controls, and costs nothing to run once installed. The catch is that passive flow depends on temperature difference and wind, so it slows down on calm, overcast days and during long humid stretches when there is little stack effect to drive it.
Active ventilation earns its keep once the shed does more than store a tractor overnight. A few situations tip the scale:
- Running a workshop with welding fumes, painting overspray, or engine exhaust from running equipment indoors
- Storing batteries, which off-gas and benefit from steady air turnover
- Fighting condensation that keeps returning despite properly sized passive vents
- Housing humidity-sensitive tools, electronics, or feed that need tighter climate control than passive airflow delivers
For any of these, a thermostat or humidistat-controlled fan is worth the investment. Set it to kick on above a target temperature or humidity level, and it runs only when needed rather than burning power around the clock, according to guidance on supplementing passive roof vents with mechanical ventilation in occupied or fume-producing spaces.
Solar-powered fans fill a specific gap: sheds without grid power, or owners who want ventilation without running an electrical line to a remote structure. A well-matched solar fan handles daytime ventilation reliably, since that is when solar output and cooling demand line up. Overnight or on a humid, overcast day, though, a solar fan without battery backup can’t keep pace, so if you need ventilation after sunset or through multi-day damp spells, look at a battery-backed kit instead of a panel-only unit.
Pro Tip: If your shed only needs help on the hottest afternoons, a simple solar exhaust fan on a thermostat switch covers that window without any wiring into your main electrical panel.
How to Calculate ACH, CFM, and Net Free Area
Sizing ventilation is arithmetic, not guesswork. Three numbers drive every decision: air changes per hour (ACH), the fan capacity you need in cubic feet per minute (CFM), and the Net Free Area (NFA) of the vents themselves.
1. Pick your target ACH. Dry equipment storage generally calls for 3 to 4 ACH. A shed doubling as a workshop, or one storing hay or anything biologically active, needs closer to 6 to 8 ACH, per storage-building ventilation benchmarks. Hay and livestock spaces run even higher than general equipment storage, which is worth knowing if your shed shares space with barn-style storage.
2. Calculate CFM. The formula is straightforward: CFM = (Volume × ACH) / 60. Two worked examples show how it plays out:
Small tractor shed, 8 feet by 10 feet by 8 feet tall (640 cubic feet), targeting 4 ACH: CFM = (640 × 4) / 60 ≈ 43 CFM
Medium equipment shed, 20 feet by 30 feet by 10 feet tall (6,000 cubic feet), targeting 5 ACH: CFM = (6,000 × 5) / 60 = 500 CFM
3. Apply the Net Free Area guideline. For passive systems, total vent opening area should fall between 1:150 and 1:300 of the roof’s square footage, split roughly 50/50 between low intake and high exhaust. A 1,200 square foot roof at 1:150 needs 8 square feet of total NFA, meaning 4 square feet of intake and 4 square feet of exhaust, converted to square inches when you shop for specific vent products (8 square feet equals 1,152 square inches).
4. Oversize the fan, not the vent. Grilles, screens, and duct bends all add resistance that eats into a fan’s rated output. For the 43 CFM small shed example above, choosing a fan rated for 60 to 80 CFM builds in enough margin to hit your real-world target instead of falling short of it. Vendor guidance for storage buildings goes a step further, recommending you consider increasing total vent area by a fraction in sunny or humid climates where condensation risk runs higher than average.
Best Practices for Metal and Tractor Sheds
Ventilation only solves half the moisture problem in a metal building. Insulation choice and slab condition drive the other half, and getting either one wrong undercuts even a well-sized vent system.
Insulation changes your moisture strategy. Breathable insulation, like faced fiberglass batts, lets some vapor pass through and relies on ventilation to carry that moisture out of the building. Closed-cell foam insulation blocks vapor transfer at the surface instead, which cuts down on condensation forming on the insulation itself but does nothing for humidity generated inside the shed by a running engine, wet equipment, or simple outside air infiltration. Pick one approach and size your ventilation to match. Foam-insulated sheds still need intake and exhaust vents; they just are not fighting condensation on the roof deck the way an uninsulated or fiberglass-insulated building does.
Slab moisture is an underrated culprit. A bare concrete slab wicks ground moisture upward and releases it into the shed’s air, adding to the humidity load your vents have to clear. Owners frequently underestimate this, and sealing the slab with a vapor barrier can meaningfully cut interior humidity before it ever becomes the ventilation system’s problem to solve. If humidity stays stubbornly high even after sealing and proper venting, a standalone dehumidifier is a reasonable backstop, particularly in a workshop used year-round.
Material choices matter more on a metal roof than people expect. Flashing and vent housings need to match the roof’s expansion and contraction, or you get gaps that let water in during wind-driven rain. Galvanized or painted steel vent components generally outlast plastic on a metal building, since UV exposure degrades plastic housings faster in full sun.
A short checklist for placement and materials:
- Keep intake vents low, roughly a foot above floor level where practical, for the strongest stack effect
- Never point an intake vent directly at an exhaust vent’s discharge path, which short-circuits airflow across the room
- Match flashing and vent housing material to the roof panel to avoid galvanic corrosion at the seams
- Leave clearance around parked tractors so intake vents are not accidentally blocked by equipment or stored items
- Choose screened vents everywhere to keep insects and rodents from turning a vent into an entry point
Pro Tip: Walk the shed with the tractor parked in its usual spot before finalizing vent placement. It is easy to size vents on paper and then discover the intake you planned sits three feet behind the loader bucket.
Installation Checklist and Retrofit Steps
Installing or retrofitting shed ventilation goes smoother with a defined sequence rather than tackling vents on impulse.
- Measure the shed. Record length, width, and roof peak height to calculate volume, note every existing opening (doors, windows, gaps), and check insulation type and slab condition, since both affect your moisture load.
- Calculate targets. Pick your ACH goal (3 to 4 for dry storage, 6 to 8 for workshop use), run the CFM formula, and apply the NFA guideline to get your total vent area split 50/50 between intake and exhaust.
- Choose vent types and locations. Match ridge or gable vents to your roof shape, place soffit or wall intakes low and unobstructed, and decide now if a powered fan is joining the system.
- Cut and install. Cut openings to the vent manufacturer’s specified dimensions, install flashing before the vent housing to keep water out, and add insect screens on every opening. If a fan is part of the plan, wire in a thermostat or humidistat control at this stage rather than running it on a simple on-off switch.
- Test airflow. A stick of incense or a smoke pencil held near an intake vent shows you whether air is actually moving through the space, and in which direction. Feeling for a light constant airflow near your exhaust vent confirms basic operation.
- Log temperature and humidity. A cheap digital hygrometer left in the shed for a week gives you real numbers to compare against the recommendations, a step retrofitters commonly recommend before declaring a vent job finished.
- Tune as needed. If humidity stays high after a week of monitoring, check for blocked intakes first before assuming the vent sizing itself is wrong.
Pro Tip: Do the incense test on a still day, not a windy one. Wind-driven airflow will mask a poorly balanced intake/exhaust setup and make you think the system works better than it actually does on calm days, which is exactly when you need it most.
Maintenance Schedule and Warning Signs
Ventilation systems need attention twice a year to keep working the way they were sized to work. A spring and fall check covers most of what goes wrong.
Biannual checklist:
- Clear debris, leaves, and nests from soffit and ridge vent openings
- Inspect screens for tears or rust and replace damaged sections
- Check flashing seals around every vent for gaps or lifted edges
- Test any powered fan for smooth operation, unusual noise, or slow startup
- Confirm thermostat or humidistat controls are triggering at the set point
Warning signs ventilation is falling short:
- Rust spots appearing on tools, frames, or hardware that were previously clean
- Visible condensation on the underside of the roof or on cold metal surfaces in the morning
- A persistent musty or mildew smell that does not clear even on dry days
- The shed staying noticeably hotter than outside air well into the evening
A quick field test costs nothing: light a stick of incense near a vent opening on a calm day and watch which way the smoke drifts. Combine that with a week of hygrometer logging, and you will know within days whether your system needs a bigger exhaust vent, a cleared intake, or just a good cleaning.
Solar-Powered Ventilation for Off-Grid Sheds
Solar fan kits solve a problem mains-powered fans cannot: getting reliable ventilation to a shed with no electrical service nearby. A properly matched solar fan runs on daylight, which lines up well with when heat buildup peaks, and it needs no trenching, no permit for a new circuit, and no monthly electricity cost.
The tradeoff is nighttime and heavy-overcast performance. A panel-only fan slows or stops once the sun goes down, so a battery-backed system is the better fit for sheds fighting overnight condensation or storing anything humidity-sensitive around the clock.
Westernharmonics built its business on exactly this distinction, as the original pioneer of the U.S. solar fan kit category. Our DIY shed ventilation guide walks through matching panel wattage to fan draw and estimating realistic run-time before you buy. As a rule of thumb: a small panel-only kit covers daytime-only needs in a dry storage shed, while anything with recurring condensation, battery storage, or workshop use benefits from a battery-backed setup that keeps moving air after sunset.
Why Balance Beats Guesswork Every Time
The single biggest mistake I see in shed ventilation setups is chasing one big, impressive vent instead of a matched pair. Owners install a large ridge vent expecting it to solve everything, then wonder why condensation keeps showing up. A ridge vent without adequate intake area is an exhaust fan trying to pull air out of a sealed room. It barely moves anything.
The fix is not complicated, and it does not require expensive equipment. Balanced low intake and high exhaust, sized with the CFM formula and NFA guideline covered above, handles the overwhelming majority of tractor sheds without a single moving part. Save the powered fan, solar or otherwise, for the specific situations where passive flow genuinely falls short: workshops, battery storage, or a shed that keeps sweating no matter how well the vents are balanced.
Run the numbers for your own shed before buying anything. The sizing examples above take five minutes with a tape measure and a calculator, and Westernharmonics’s DIY resources walk through matching a kit to whatever number you land on.
— Chris
How to Choose a Solar Ventilation Kit That Fits Your Shed
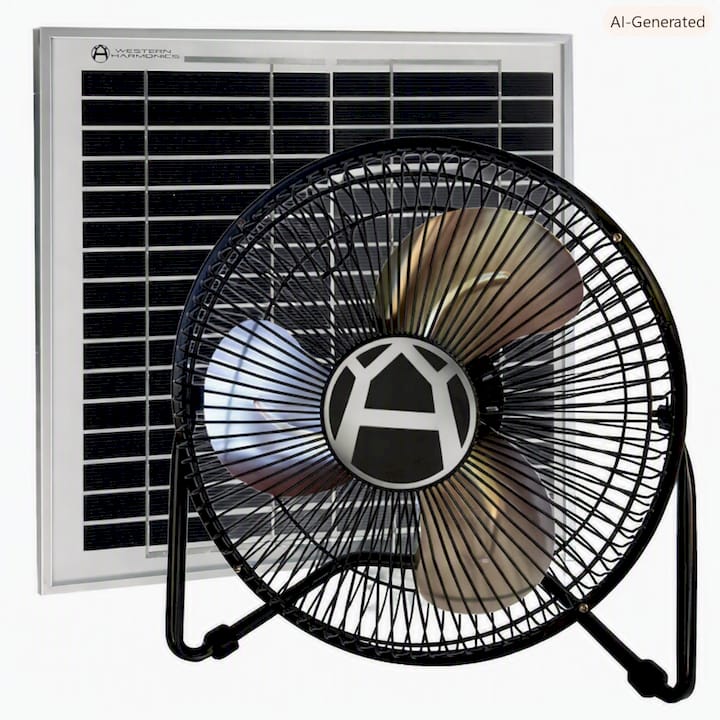
Once you know your target CFM and whether you need battery backup, picking hardware gets a lot simpler than shopping specs blind. A small dry-storage shed, the kind we sized at roughly 43 CFM earlier, is a good match for a compact 10W solar powered fan kit, which handles daytime airflow without any wiring or battery to manage.
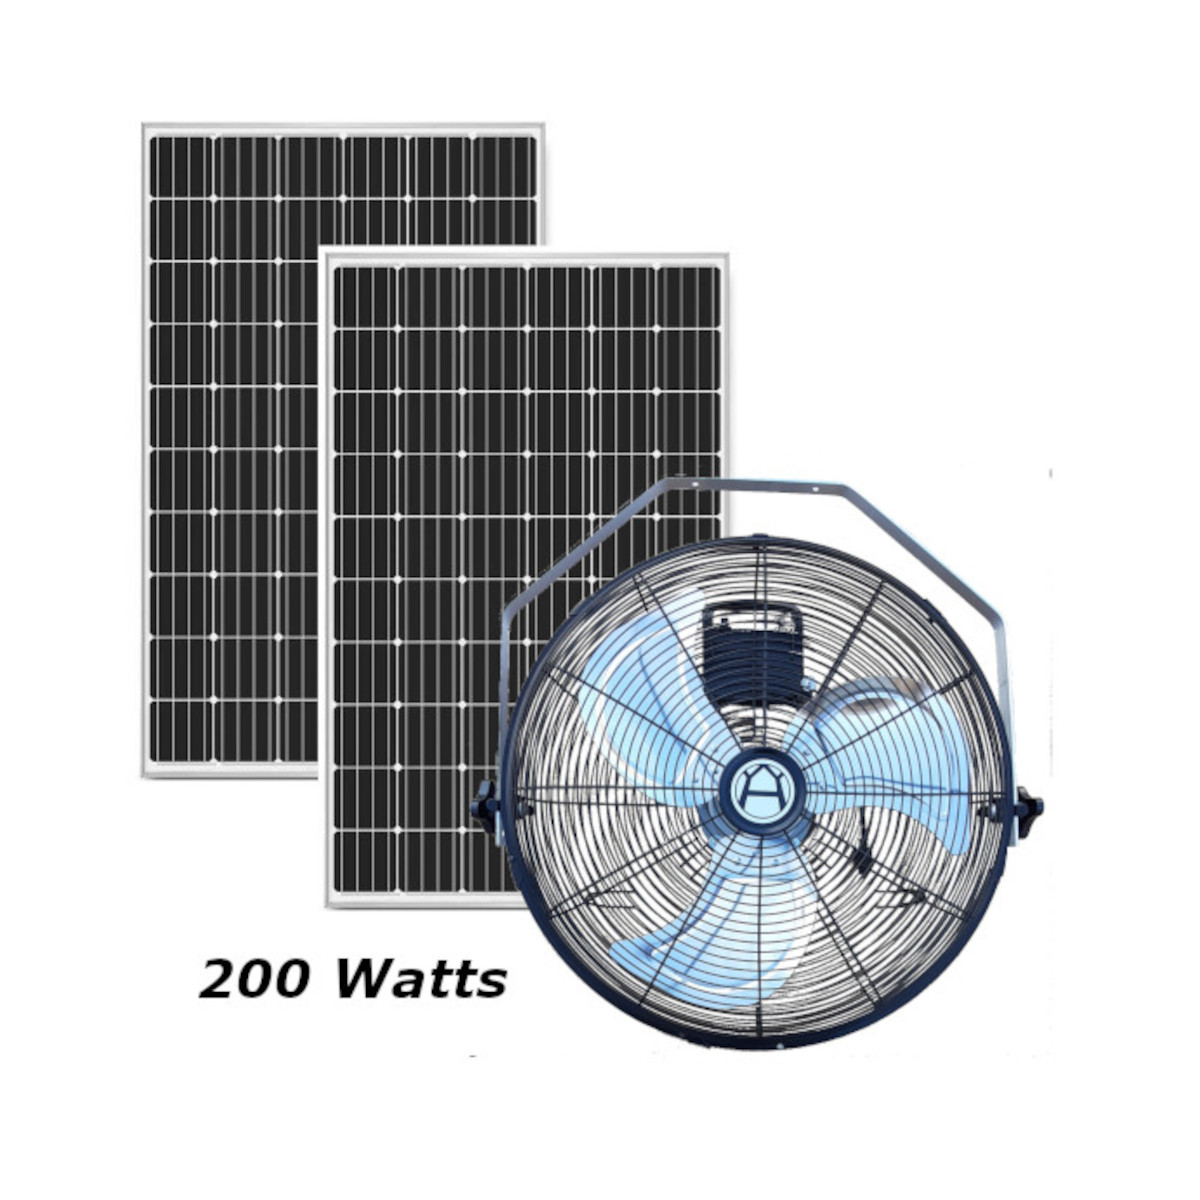
Sheds fighting overnight condensation, storing batteries, or running as a light workshop need more staying power after sunset. That is where a 200W battery-backed hanging fan kit earns its keep, since the battery buffer keeps air moving through cloudy stretches and after dark, not just while the sun is up. Larger sheds or setups needing higher total CFM across two zones can step up to a two-fan solar system for split intake and exhaust coverage without running a single foot of house wiring.
Before you buy, run through a short checklist: required CFM from your ACH calculation, panel wattage matched to that fan draw, whether you need battery backup for nighttime or overcast runs, mounting style for your roof or wall, and corrosion resistance for the housing given your climate. Browse the full solar powered fan lineup or the complete Westernharmonics catalog to compare options side by side, then order the kit that matches the numbers you already calculated.
Sources
Vent sizing rules in this guide draw from the Net Free Area guidance published by BASC and PNNL, CFM and ACH formulas from DIY Eco Homes’s shed ventilation guide, and contractor-level ridge and soffit balance practices from Steel Structures America’s pole barn ventilation guide. For solar-specific installation walkthroughs, see Westernharmonics’s shed solar ventilation DIY guide.