

Wiring a 12V Fan Off Grid: Diagrams, Sizing, and Safety
Wiring a 12V Fan Off Grid: Diagrams, Sizing, and Safety
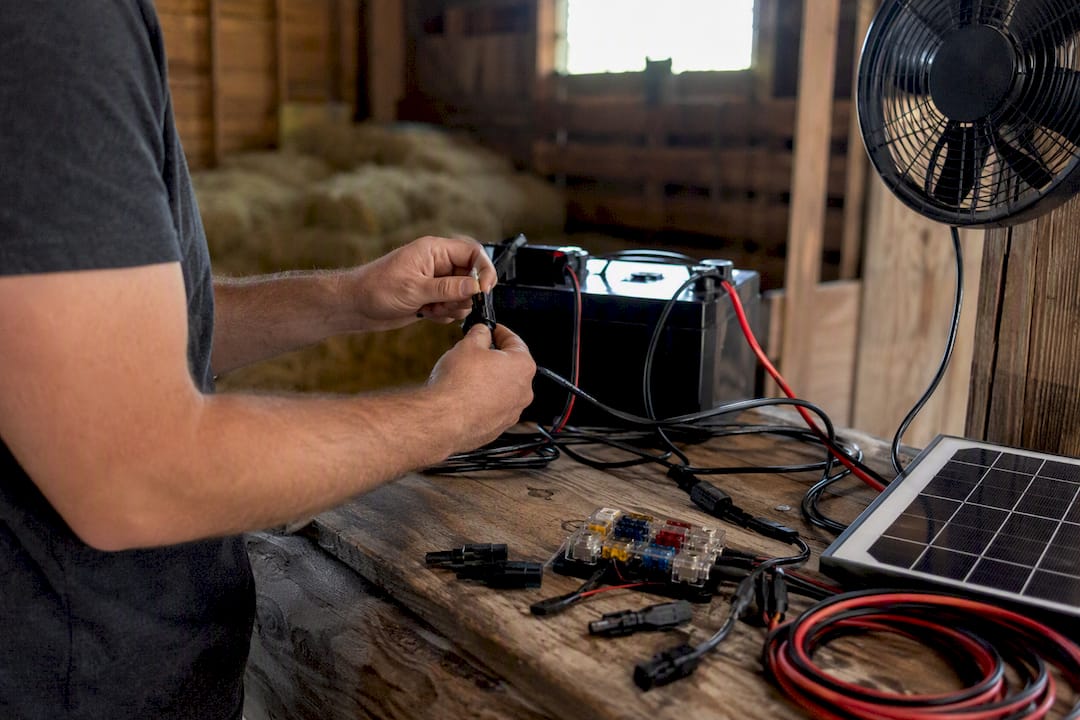
Yes, you can wire a 12V fan off grid, and there are two safe patterns for doing it: direct-to-panel for daylight-only cooling, or battery-backed for round-the-clock ventilation. Whichever you choose, one rule is non-negotiable: put a correctly sized fuse on the battery-positive conductor as close to the battery terminal as possible. That single component is your fire prevention plan.
The minimal signal path looks like this:
- Solar panel feeds the charge controller
- Charge controller regulates output to the battery
- Fuse sits inline on the battery-positive wire, right at the terminal
- Switch or relay controls power to the fan
- Fan draws regulated 12V DC power on demand
Key Takeaways
Off-grid fan wiring works reliably when the fuse sits at the battery, the wire gauge matches the run length and current draw, and the wiring pattern (direct-to-panel or battery-backed) matches the actual duty cycle.
| Point | Details |
|---|---|
| Fuse placement is non-negotiable | Install the fuse on the battery-positive lead as close to the terminal as possible. |
| Match wiring pattern to use case | Choose direct-to-panel for daytime-only needs, battery-backed for 24/7 ventilation. |
| Size wire for voltage drop | Keep voltage drop under 3% by using thicker wire on longer runs, per the wire-gauge table. |
| Runtime depends on chemistry | A 100Ah battery at 2.5A draw runs roughly 20 hours on lead-acid versus 20 hours on lithium. |
| Kits remove sizing guesswork | Westernharmonics kits arrive with matched components and pre-sized fuse and wire guidance. |
Table of Contents
- Parts Checklist for Off Grid Fan Wiring
- Should You Wire Direct-to-Panel or Battery-Backed?
- How Do You Wire a Fan to a Battery and Solar Panel?
- How Long Will a Battery Run a 12V Fan?
- Do 12V Fans Need a Ground Wire?
- Why Won’t My Off-Grid Fan Run?
- Why a Purpose-Built Solar Fan Kit Beats a Fully Custom Build
- What Actually Matters in an Off-Grid Fan Build
- Get a Tested Kit Instead of Reinventing the Wiring
- FAQ: Off Grid Fan Wiring
- Sources
Parts Checklist for Off Grid Fan Wiring
Before you touch a wire stripper, confirm you have every piece and understand its job. A 12V DC fan needs its voltage and amp rating checked against your battery and panel, not just guessed at. Your battery’s Ah rating and chemistry (lead-acid versus lithium) determine real-world runtime. The solar panel’s wattage and nominal voltage need to be compatible with your charge controller, which should be MPPT rather than PWM if your panel voltage runs meaningfully higher than your battery voltage, since MPPT controllers can harvest more usable energy under variable light than PWM units.
Here’s the full list:
- 12V DC fan, matched to your amp draw
- Battery (Ah capacity, lead-acid or lithium)
- Solar panel (watts, nominal voltage)
- Charge controller (PWM or MPPT)
- Inline fuse or circuit breaker
- Switch or relay
- Wire and weatherproof connectors
- Cable glands and conduit for sealing
Optional upgrades worth considering: a programmable low-voltage disconnect, an auto-switching relay for PV versus battery, a speed controller, and better comparisons between AC and DC fan efficiency if you’re deciding what to buy in the first place.
Should You Wire Direct-to-Panel or Battery-Backed?
Your use case decides this, not your budget. Direct-to-panel wiring is the simplest setup: fewer parts, lower cost, and it only runs when the panel produces enough voltage to spin the fan. That means no nighttime airflow, and without regulation you risk feeding the fan more voltage than it’s rated for on a bright afternoon.
Battery-backed wiring is what we recommend for anything that needs airflow after dark or during cloudy stretches. It adds a charge controller and battery to the circuit, but in exchange you get regulated, predictable 12V output any hour of the day.
A hybrid setup splits the difference. Add a relay or use your charge controller’s programmable load output to prefer PV power when the sun’s up and fall back to the battery when it’s not, an approach DIY solar builders have refined through trial and error.
Here’s the short version:
- Temporary daytime ventilation: direct-to-panel
- Animal shelters, greenhouses, outhouses, or any 24/7 need: battery-backed
- Want PV priority but battery security: hybrid with relay or load-output control
How Do You Wire a Fan to a Battery and Solar Panel?
Follow this order and you’ll avoid the mistakes that trip up most first-timers.
- Mount the fan securely, then run wire back to your power source, keeping the run as short as practical.
- Install the fuse on the battery-positive lead first, before anything else touches the battery terminal.
- Wire the charge controller in the correct sequence: battery connection first, then panel, then load last. Controllers use the battery connection to calibrate voltage sensing, and connecting the panel first can trigger error codes or damage some units.
- Wire the switch or relay into the load circuit between controller and fan.
- Connect the fan, double checking polarity against the fan’s markings.
- Seal every connection point, add strain relief, and route cable through conduit or glands wherever it exits an enclosure.
Wire gauge matters more than most people think. Undersized wire on a long run bleeds voltage before it reaches the fan, which shows up as a sluggish blade and a warm wire.
The target is a voltage drop under 3%, a benchmark echoed across practical solar fan builds. When in doubt, size up one gauge.
Fuse sizing trips people up because motors draw more current on startup (stall current) than while running. Size your fuse at roughly 125 to 150% of the fan’s rated running current, and use a slow-blow fuse if the fan has a noticeable startup surge, since forum experience with RV exhaust fan installs confirms stall current can spike well above the running spec.
Use crimp connectors with heat shrink over butt splices for anything permanent, ring terminals at the battery and fuse block, and MC4 connectors on the panel side to keep water out of exposed junctions. Test every connection with a multimeter before you close up an enclosure. Confirm voltage at the battery, then at the fuse block, then at the fan terminals.

Pro Tip: Label both ends of every wire run before you seal anything up. Six months from now, when you’re troubleshooting in a dusty barn at dusk, you’ll thank yourself.
How Long Will a Battery Run a 12V Fan?
Runtime math starts with converting your fan’s draw into amp-hours, then applying a realistic depth-of-discharge (DoD) for your battery chemistry.
Take a 12V fan drawing 2.5A paired with a 100Ah battery:
| Assumption | Lead-acid (20-30% DoD) | Lithium (20-30% DoD) |
|---|---|---|
| Usable capacity | 100Ah | 100Ah |
| Fan draw | 2.5A | 2.5A |
| Estimated runtime | 20 hours | 20 hours |
Those numbers assume continuous operation with no recharge. A 20 to 30 watt panel is usually enough to keep a single small fan topped off during daylight, but check your controller’s charging current output against your fan’s daily Ah draw to confirm you’re not running a net deficit.
Before you calculate anything, record: fan amp draw, duty cycle (is it running constantly or cycling?), desired runtime hours, battery chemistry, and your DoD target. Skip one of those and your math will be wrong in a way you won’t notice until the battery’s dead.
Do 12V Fans Need a Ground Wire?
Most small 12V DC fan motors are double-insulated and only ship with two conductors, positive and negative. That’s normal. Your system’s battery negative serves as the common return, and you don’t need a separate chassis ground for a typical two-wire fan setup.
Your safety checklist should still cover:
- Fuse at the battery, not just at the fan
- Correct polarity confirmed with a multimeter before final connection
- All splices protected with heat shrink or weatherproof housings
- Secure mounting so vibration doesn’t work connectors loose
- Strain relief at every enclosure entry point
- Clearly labeled circuits for future troubleshooting
Skip the extension cord for anything permanent. The Consumer Product Safety Commission warns that using extension cords as permanent wiring raises fire and trip hazards, and OSHA’s guidance on flexible cords makes the same point for workplace settings: temporary cords aren’t rated for permanent duty. Run outdoor-rated cable through conduit instead. Lead-acid batteries also need ventilation since they can vent hydrogen gas while charging, and you should disconnect the battery before making any major wiring change, as discussed in practical window vent options for combined ventilation.
Why Won’t My Off-Grid Fan Run?
Work through diagnostics in this order: check the fuse first, then measure battery voltage under load, then check voltage right at the fan terminals, then inspect every connector for corrosion or looseness, and finally bench-test the fan on a known-good 12V source if you’re still stuck.
Match your symptom to the likely cause:
- Fan won’t run at all: blown fuse, dead battery, or a loose connection somewhere in the chain
- Fan runs slow: voltage drop from undersized wire, or a battery that’s lower than it reads at rest
- Fan runs intermittently: corroded or loose terminal connections, often at a crimp that wasn’t seated properly
- Airflow is backward: reversed polarity at the fan connection
Routine maintenance is simple but easy to skip: clean blades and grills seasonally, inspect wiring annually for chafing or UV damage, re-check crimped joints on anything mounted where it vibrates, and re-torque terminal screws once a year. If your fan is underpowered for the space, that’s a sizing problem, not a wiring problem. Upgrade the battery or panel rather than fighting a system that was never sized right.
Why a Purpose-Built Solar Fan Kit Beats a Fully Custom Build
A matched kit removes the guesswork from fuse sizing, wire gauge, and controller compatibility, because every component was chosen to work together from the start. Westernharmonics has spent years building tested, weatherproof solar fan kits for barns, greenhouses, and workshops, with pre-sized wiring guidance baked into every product.
- Matched fan, panel, and controller components
- Pre-sized fuse and wire recommendations included
- Weatherproof enclosures built for real farm and outbuilding conditions
- Tested runtime figures instead of guesswork
If you’re planning multiple fans or a whole-property ventilation layout, tools like PowerMosaics are worth a look for moving from a single custom build toward a repeatable, documented design across several low-voltage circuits. For readers who’d rather skip the custom wiring entirely, Westernharmonics’s own System Designer does the same job for kit-based builds.
Pro Tip: If you’re wiring more than two fans on one property, sketch the whole layout before buying parts. Retrofitting a fuse block after the fact is twice the work.
What Actually Matters in an Off-Grid Fan Build
Most wiring guides bury the one decision that actually determines whether your project works: battery-backed versus direct-to-panel. Get that choice right and the rest is mechanical detail. Get it wrong, and you’ll have a fan that stops the moment clouds roll in over your greenhouse, or a battery that’s dead by the time it matters.
The conventional advice treats fuse sizing and wire gauge as the hard part. They’re not. Those are lookup-table problems, solved once with a multimeter and a chart. The harder problem is duty cycle honesty. Readers consistently undersize their battery because they calculate runtime assuming the fan runs less than it actually will.
Prioritize sizing your power source to your real duty cycle, not your optimistic one. If a horse barn needs airflow all night, size for all night, with margin. That’s also where a design comparison becomes genuinely useful. A DIYer wiring one fan doesn’t need software. A homesteader planning six fans across three outbuildings does, and that’s precisely the gap tools like PowerMosaics aim to close for low-voltage, sub-3kW systems where manual math starts breaking down fast.
Get a Tested Kit Instead of Reinventing the Wiring
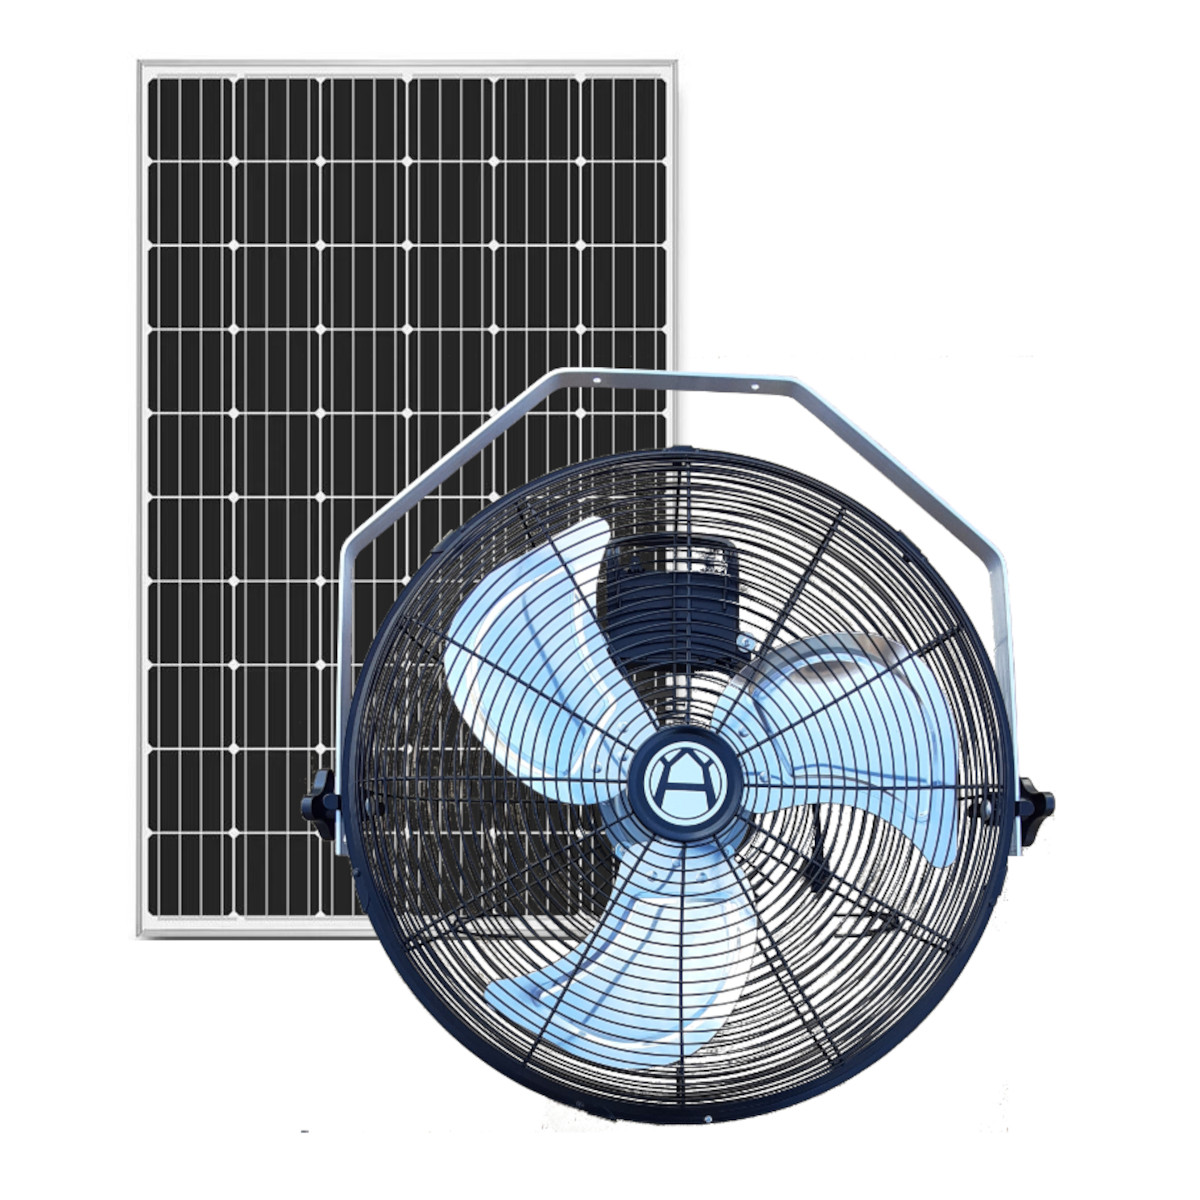
Westernharmonics built the first solar fan kit sold in the U.S., and every kit since has been engineered around the same problem this guide just walked you through: matching a fan, panel, battery, and fuse so they work together the first time, without you doing the trial-and-error math yourself.

If you want the simplest possible entry point, the 10W solar powered fan kit comes pre-matched for straightforward installs. Need round-the-clock airflow for livestock or a greenhouse instead? The 200W solar hanging fan kit with battery backup handles the battery-backed pattern this article recommends for 24/7 use, fuse sizing and wire gauge already worked out. Browse the full solar powered fans catalog to compare options against whatever custom build you were about to start, or check out the Solar Fan with Battery guide for pairing help. Start with the kit that matches your runtime need and skip the wire-gauge chart entirely.
FAQ: Off Grid Fan Wiring
Can I run a 12V fan directly off a solar panel without a battery? Yes, but only during daylight hours when panel voltage is sufficient, and you’ll want a controller or regulator between the panel and fan to prevent overvoltage on bright, clear days.
What size fuse do I need for a 12V fan?
Do I need an MPPT controller for a small fan setup? Not always. PWM works fine when your panel voltage is close to your battery voltage. Switch to MPPT when panel voltage runs meaningfully higher, since it captures more usable energy under variable sunlight.
Why does my off-grid fan run slower than expected? The most common cause is voltage drop from undersized wire on a long run, followed by a battery that’s more discharged than it appears at rest under no load.
Is a ground wire required for a 12V DC fan? Most small 12V fans are double-insulated with only two conductors, and the battery negative serves as the return path, so a separate ground isn’t typically needed for standard installs.
Sources
- CPSC — Extension Cords FAQ
- OSHA — Flexible cords and cables electrical hazards
- How to Build a Solar Panel Fan — SolarPanelEmpire
- DIY Solar Forum — 12V relay help for powering fan directly off panel/battery