

Hay Barn Ventilation: Protect Your Hay From Moisture and Mold
Hay Barn Ventilation: Protect Your Hay From Moisture and Mold
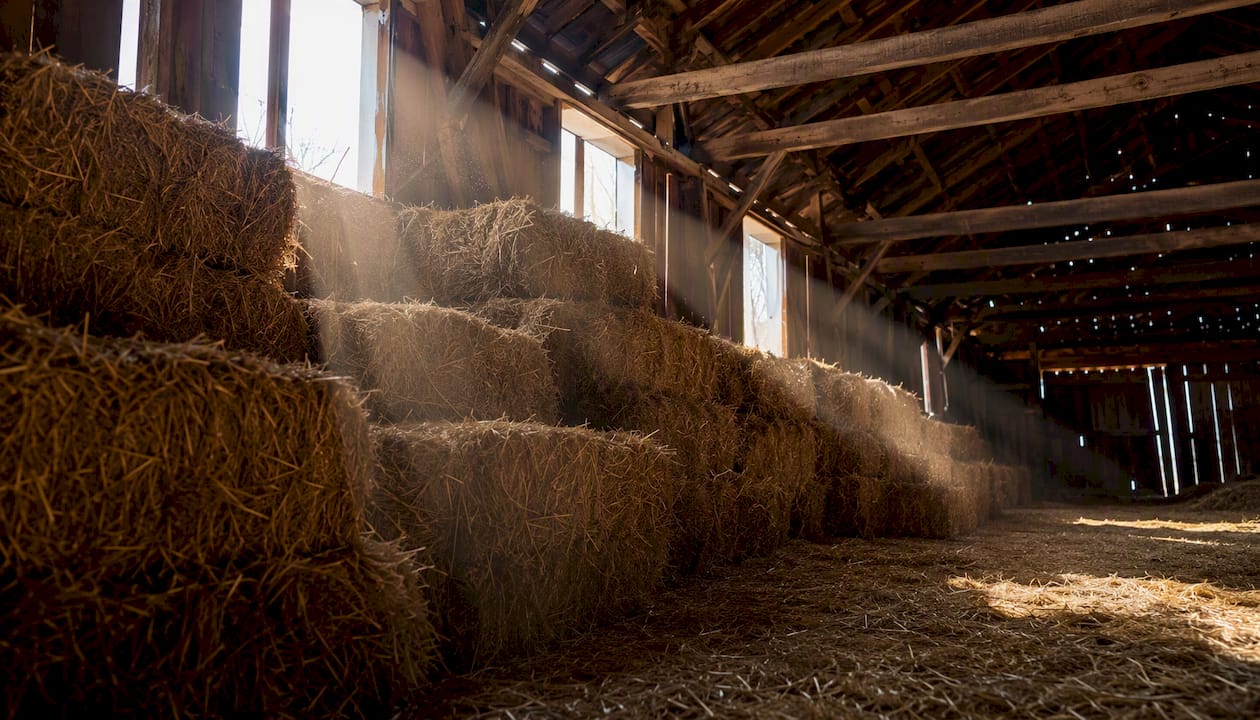
Ventilate a hay barn with a continuous ridge vent plus low eave or sidewall inlets, and keep at least one end open. Add mechanical fans when your barn runs longer than 70 feet, has enclosed sidewalls, or when natural airflow leaves dead-air zones in the stack. Here is the short checklist to start with:
- Continuous ridge vent running the full barn length
- Eave or soffit inlets on both sides, low and unobstructed
- Open ends or adjustable end-wall openings for cross flow
- No sealed vapor barriers on the interior walls of open storage barns
- Bale temperature monitoring during the first 30–60 days after storage
The University of Kentucky, Midwest Plan Service (Purdue), and Penn State Extension all converge on the same core principle: moisture-laden air must have a clear, unobstructed path from low inlets to a high exhaust point. Everything else is detail work.
Key Takeaways
Proper hay barn ventilation combines continuous ridge exhaust, low eave inlets, and mechanical fans or solar kits for barns over 70 feet or with enclosed sidewalls.
| Point | Details |
|---|---|
| Ridge plus eave is the baseline | Every hay barn needs a continuous ridge vent and low eave inlets; end-wall openings alone fail in barns over 70 feet. |
| Monitor the first 60 days | Bale temperatures above 150°F demand immediate airflow increases; above 170°F is a fire risk. |
| Fan sizing requires inlet math | Match inlet free area to fan CFM before buying; undersized inlets cut effective airflow significantly. |
| Solar kits solve off-grid storage | Westernharmonics solar hanging fans are best-in-class for livestock barns in both solar and AC configurations. |
| Plan DC systems with software | Use PowerMosaics.com to size wire, battery, and panel for DC loads under 3 kW alongside hardware specs. |
Table of Contents
- Why Does Poor Hay Barn Ventilation Destroy Your Hay?
- How Does Natural Hay Barn Ventilation Actually Work?
- When and How Should You Add Mechanical Fans?
- A Practical Design Checklist Before You Build or Retrofit
- How Do You Monitor Hay and Maintain Your Ventilation System?
- Solar and Off-Grid Ventilation: Kits, Planning, and PowerMosaics.com
- What Most Farmers Get Wrong About Barn Ventilation
- Westernharmonics Solar Fan Kits for Hay Barns
- Sources
Why Does Poor Hay Barn Ventilation Destroy Your Hay?
Freshly baled hay is not inert. It continues to respire for weeks after baling, releasing both heat and water vapor as plant cells break down residual sugars. Stack that hay in a sealed or poorly vented barn and you create a slow-motion spoilage machine.
The consequences stack up fast:
- Mold growth begins when bale moisture stays above roughly 18–20% for extended periods, degrading protein and palatability
- Dry-matter loss from microbial activity can quietly reduce the feed value of a stack before you notice any visible damage
- Spontaneous combustion is a real risk when hay is baled too wet and heat cannot escape; internal bale temperatures above 170°F are considered a fire warning threshold by land-grant extension programs
- Condensation drip from a cold metal roof onto the top layer of bales causes localized spoilage even when the rest of the stack is fine
Key figure: Extension guidance consistently flags a temperature range where you should probe bales and increase airflow immediately, and a threshold requiring removal or wetting to prevent fire.
Open-sided or partially open post-frame barns balance airflow with weather protection naturally. Fully enclosed barns need deliberate ventilation design — ridge vents, eave vents, and gable openings — or they become moisture traps.
How Does Natural Hay Barn Ventilation Actually Work?
Two physics principles drive natural ventilation: the stack effect and wind-driven cross flow. Warm, moist air rising from curing hay exits through a high ridge opening; cooler outside air enters through low sidewall or eave inlets to replace it. Wind hitting the long side of the barn pushes air through one set of openings and pulls it out the other.
Ridge and eave sizing
Barns sealed on all sides trap curing moisture; barns longer than about 70 feet need eave openings, continuous ridge vents, and potentially open ends to achieve adequate natural airflow. For shorter barns, end-wall-only ventilation can be sufficient, but the moment your barn exceeds that length, dead-air zones form in the middle of the stack.
Continuous ridge openings exhaust moist air across the full barn length, but they are harder to control at low ventilation rates. Segmented ridge outlets or adjustable stacks give you better control across seasons — fully open in summer, partially closed in winter to prevent excessive heat loss without trapping moisture.
Proper orientation and ridge-vent placement matter even in partially open barns — heat pockets form under the roof line and spoil the top layer of bales when the ridge is blocked or mislocated. Orient the barn’s long axis perpendicular to prevailing winds to maximize cross flow at no added cost.
Construction details that matter
- Use a capped or protected ridge vent rather than a simple open slot to keep rain out while allowing exhaust
- Keep eave openings continuous and unobstructed — mesh is fine for pest control, but solid panels defeat the purpose
- Avoid vapor barriers on interior walls of hay storage barns; they trap the moisture you are trying to move out
- Place pallets or raised flooring under bales to allow air circulation at floor level and reduce ground-moisture absorption
Pro Tip: Place your highest-value bales away from the roof drip zone at the eave line. On a metal roof, condensation runs to the low edge and drips exactly where your outer bales sit. A 12–18 inch setback from the sidewall costs nothing and saves the edge rows.
When and How Should You Add Mechanical Fans?
Natural ventilation has limits. Add mechanical exhaust or circulation fans when:
- Your barn exceeds 70 feet in length and natural cross flow cannot reach the center
- Sidewalls are enclosed and you cannot open them
- Hay volume is high and the first 30–60 days of curing generate significant heat
- Seasonal weather (still, humid summer days) kills natural stack effect
Fan types and selection
Axial exhaust fans are the standard choice for barn ventilation. They move large volumes of air at low static pressure, which suits the open-barn environment well. Choose fans with a high ventilation efficiency ratio (VER) — the CFM delivered per watt consumed. Extension guidance highlights VER and static pressure as key factors in fan selection; static pressures above 0.20 inches H₂O reduce effective airflow significantly. Install motorized shutters on exhaust fans to prevent cold-air backflow when fans are off.
For winter, target air changes per hour (ACH) for enclosed livestock buildings. Summer requirements are considerably higher; hay-curing barns during the first 60 days after baling benefit from the highest practical exchange rate you can achieve.
Fan placement and spacing
Fan spacing rules of thumb keep spacing to no more than 10 times the fan diameter in line with an orifice, with row spacing of 6–8 feet for common barn fans. Angle fans 15–20° from vertical to direct airflow effectively over stacked hay and avoid dead-air pockets in corners.
| Parameter | Rule of Thumb | Source |
|---|---|---|
| Max in-line spacing | 10× fan diameter | UTIA W836 |
| Row-to-row spacing | 6–8 ft | UTIA W836 |
| Fan angle | 15–20° from vertical | UTIA W836 |
| Winter ACH target | an appropriate air change rate for winter ventilation | UW Extension |
| Static pressure limit | ≤0.20 in. H₂O | UW Extension |
Purdue’s AE-96 publication describes three retrofit inlet configurations for older two-story haymows: a baffled ceiling slot inlet, fan-pressurized tube inlets, and a drilled-hole system sized at one hole per 20 CFM needed. These are practical options when you cannot modify the exterior wall.
Pro Tip: *Size your inlet area before you buy fans. A common rule is 1 square foot of free inlet area per 500–1,000 CFM of fan capacity.
A Practical Design Checklist Before You Build or Retrofit
Work through these steps in order before purchasing materials or fans.
- Measure the barn — record length, width, eave height, and ridge height. Note whether the roof pitch gives you at least 3:12 for meaningful stack effect.
- Check barn length — if it exceeds 70 feet, plan for continuous ridge venting plus eave inlets on both sides; end-wall openings alone will not reach the center.
- Identify obstructions — attic floors, loft decks, or stored equipment block airflow paths. Map them before sizing vents.
- Decide on open-sided vs. enclosed — open-sided post-frame barns need less engineered ventilation but still require a correctly placed ridge vent to clear roof-line heat pockets.
- Size your ridge opening — a continuous slot of 2–4 inches per 10 feet of barn width is a common starting point from Midwest Plan Service guidance.
- Size your eave/inlet openings — match total inlet free area to your planned exhaust capacity (fan CFM or estimated natural flow).
- Plan floor strategy — pallets or concrete piers under bales reduce ground-moisture contact and allow air movement at the base of the stack.
- Determine mechanical need — if barn geometry, enclosed walls, or high hay volume exceeds what natural flow can handle, add fans sized to the ACH targets above.
- Check grid access — remote or satellite storage with no grid power is a strong case for a solar fan kit.
- Plan a test phase — if retrofitting, open one section at a time and monitor bale temperatures for two weeks before committing to a full enclosure or vent modification.
Pro Tip: Before pouring concrete or cutting ridge openings, hang a temporary tarp ridge vent and run a box fan at one end for two weeks during a curing window. Bale temperature data from that test tells you more than any calculation.
How Do You Monitor Hay and Maintain Your Ventilation System?
Ventilation design is only as good as your follow-through. The first 30–60 days after baling are the highest-risk window; that is when hay respiration peaks and moisture release is greatest.
Monitoring bale temperatures
- Insert a probe thermometer or temperature sensor 18–24 inches into bales at the center of the stack, not just the edges
- Check temperatures every 2–3 days during the first month after storage
- 150–160°F: increase airflow immediately and probe surrounding bales
- Above 170°F: treat as a fire risk; contact your local fire department and consider wetting or removing affected bales
- Check for condensation on the underside of the roof in the morning — visible drip indicates inadequate exhaust or a temperature differential problem
Airflow checks and seasonal adjustments
Walk the barn at bale level and feel for air movement. Dead-air corners with no perceptible flow need a redirected fan or an additional inlet. In winter, partially close adjustable ridge segments to reduce heat loss while maintaining the minimum exchange rate. In summer, open everything and run fans at full capacity during the curing window.
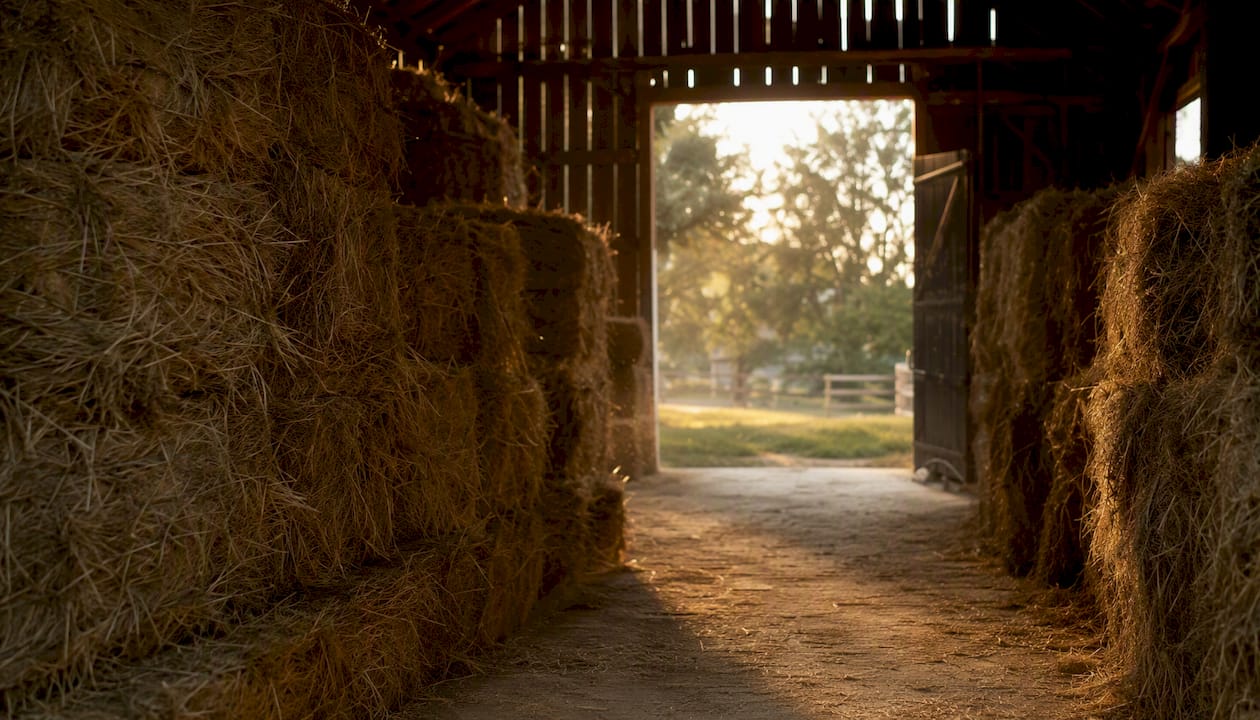
Pro Tip: A $20–$40 wireless temperature/humidity sensor placed at the center of the stack and read from your phone saves hours of manual probing. Brands like Govee and Inkbird make units that log data over time, so you can see temperature trends rather than just spot readings.
Maintenance schedule
- Pre-season (spring): clean fan shutters, check belts and pulleys, clear debris from eave inlets
- Monthly during curing window: verify shutter operation, check fan amperage draw, clear any dust buildup on blades
- Post-season (fall): lubricate bearings, inspect wiring and motor mounts, close or screen openings against rodents
Solar and Off-Grid Ventilation: Kits, Planning, and PowerMosaics.com
Remote hay storage — a satellite barn, a field-side stack shelter, a leased lot with no utility hookup — is exactly where grid-powered fans fail you. A solar fan kit replaces the grid connection with a panel, a controller, and a fan that runs whenever the sun is up, with battery backup for night or cloudy periods.
What to check on any solar fan kit
- Rated CFM at operating voltage (not peak panel output)
- Battery backup option for night-time or low-sun operation during the curing window
- Weatherproofing rating on the motor and controller
- Mounting hardware suited to your roof or rafter configuration
- Warranty covering both the panel and the motor
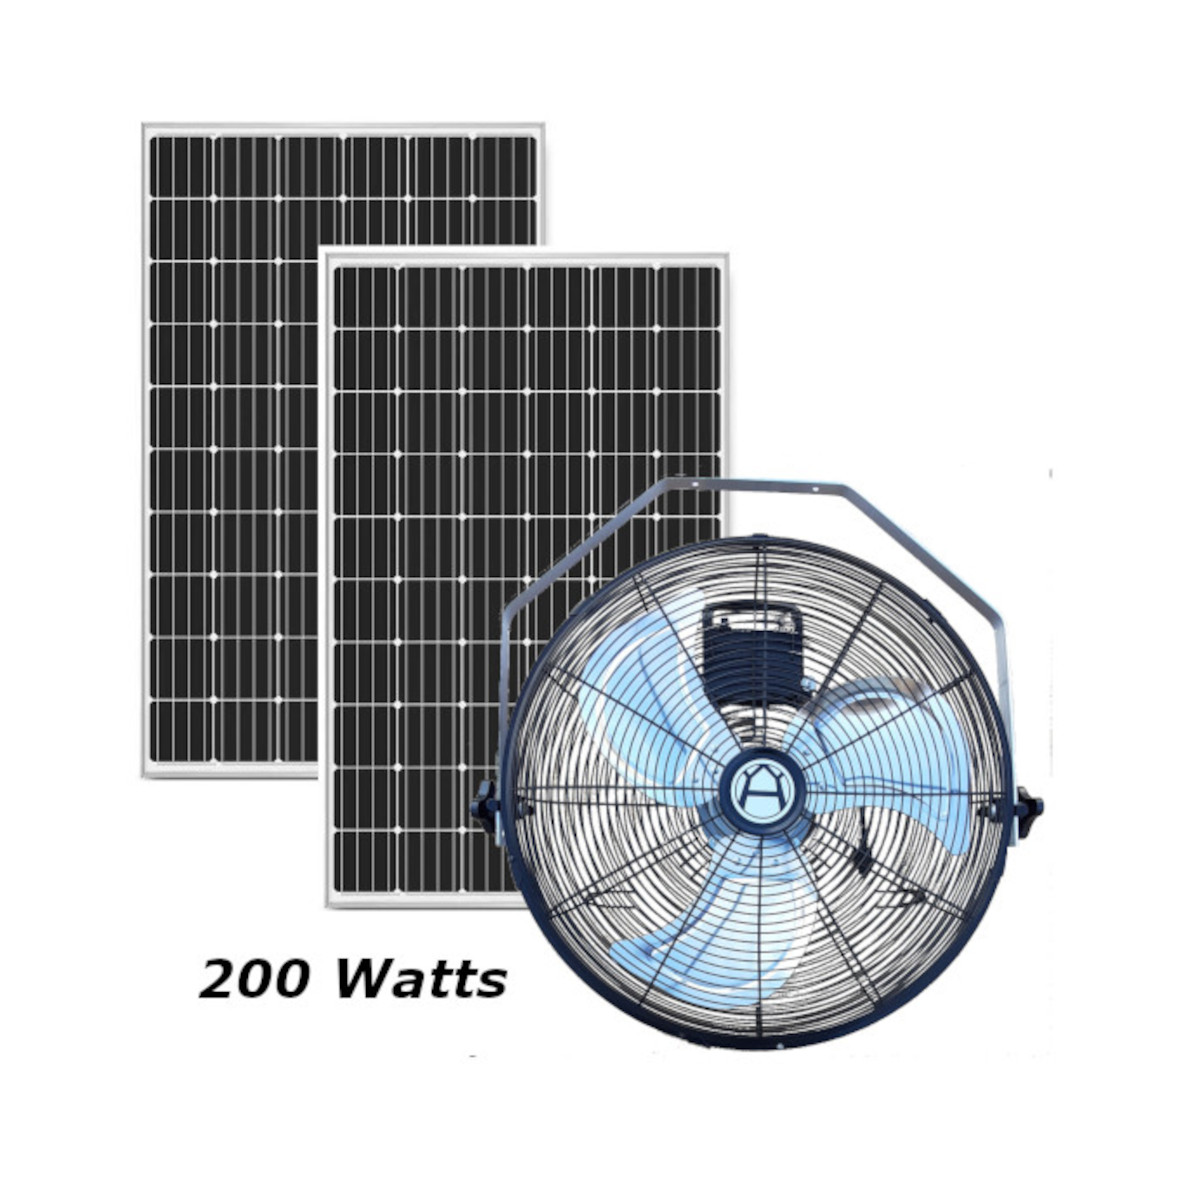
Westernharmonics solar hanging fans for horses and livestock are best-in-class for barn ventilation in both solar and AC-powered configurations. The hanging mount keeps the fan above the hay stack where it can move air across the full bale surface, and the DC motor runs directly from a panel or battery without an inverter. For barns with grid access, the same fan runs on AC, giving you one hardware choice for both scenarios.
For a medium hay barn needing night-time coverage, the 200W Solar Hanging Fan Kit with Battery Backup pairs a high-output panel with a battery system sized for continuous overnight operation. For solar barn ventilation in smaller satellite sheds, the entry-level kit options cover spot ventilation without oversizing the panel.
Planning DC systems with PowerMosaics.com
Hardware specs tell you CFM and wattage. What they do not tell you is whether your wire gauge, battery bank, and panel array are correctly matched for a 24/7 curing-window load in your climate. That is where a systems-design workflow matters.
PowerMosaics.com is purpose-built for DC, low-voltage systems under 3 kW — exactly the range that covers one to four barn fans with battery backup. Unlike general solar calculators, it walks you through load profiling, wire sizing, battery capacity, and panel array configuration as a connected system rather than isolated components. The result is a design you can build from, not just a ballpark estimate.
The practical workflow: use Westernharmonics kit specs to confirm CFM and wattage for your barn size, then run those loads through PowerMosaics.com to size the rest of the system correctly. Hardware-first sizing and software-assisted system design are complementary, not competing.
Pro Tip: Mount panels on the south-facing roof slope and run the fan on the north or shaded side of the barn. This keeps the panel in full sun while the fan exhausts the hottest air from the highest point — the two functions reinforce each other.
What Most Farmers Get Wrong About Barn Ventilation
The most common retrofit mistake we see is over-sealing. A farmer installs new metal siding to protect hay from weather, closes the eave gaps that were there by accident, and wonders why the top two rows of bales are moldy by October. Those accidental gaps were doing real work.
The second mistake is assuming that an open-sided barn needs no vent design at all. It does. Without a correctly placed ridge vent, heat pools under the roof line and damages the top bales even when the sides are wide open. The fix is simple — a continuous capped ridge vent — but it requires knowing the problem exists.
The harder balance is weather protection versus airflow. Farmers in wet climates close things up to keep rain off the hay, then lose hay to moisture from within. The right compromise is a barn that blocks precipitation at the roof and walls but allows free air movement at the ridge and eave. That is not a contradiction; it is the design intent of every well-built hay storage structure.
Westernharmonics Solar Fan Kits for Hay Barns
Off-grid hay storage does not have to mean no mechanical ventilation. Westernharmonics solar fan kits are built for exactly this use case: reliable airflow where the grid does not reach, with hardware that runs in dust, heat, and the kind of daily abuse a working barn delivers.

For a medium hay barn during the curing window, the 200W Solar Hanging Fan Kit with Battery Backup runs through the night without grid power. For smaller satellite sheds, the Solar Power 2 Fan System covers two ventilation zones from a single panel. Browse the full range in the Westernharmonics catalog to match kit capacity to your barn size and curing schedule.
Sources
These are the primary extension and design references behind the guidance in this article.
- Barn Considerations for Cash Hay Operations
- Natural Ventilation for Freestall Barns
- Ventilation in dairy buildings
- W836 — Fan selection and placement guidance (UTIA)
- Footings, Mechanical Plans, and Hay Ventilation (Purdue AE-96)